So you’ve booted up your PS5 to play Returnal, hoping for a relaxing experience. Wrong. This game is here to kick your ass, and nothing proves it like the first boss, Phrike.
Returnal is a hard game. It knows how to punish your mistakes, and one slip-up can often mean the loss of hours of progress. It’s a situation anyone familiar with the roguelike formula will be well used to, but that doesn’t stop Phrike from really, really rubbing it in.
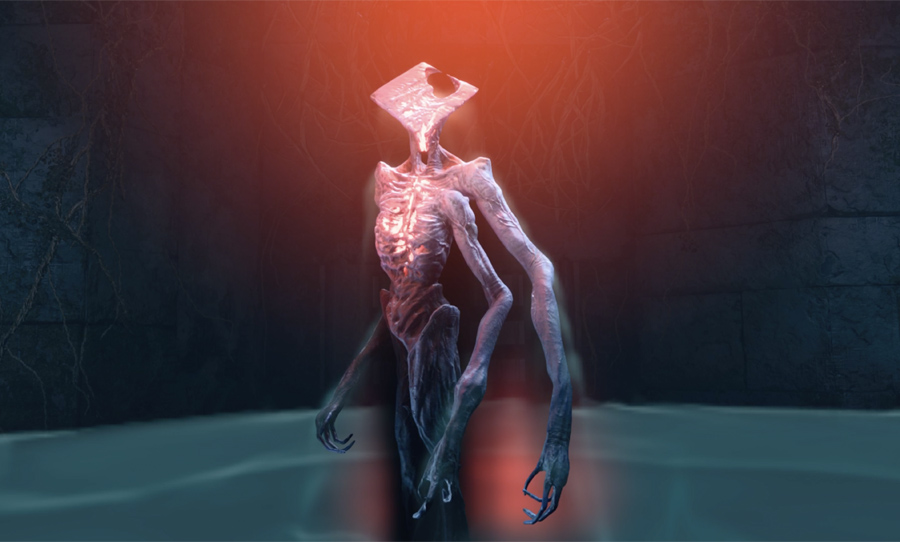
Phrike is the first boss you’ll find in Returnal, a three-phase battle that escalates in difficulty. It’s a brutal fight, but one that you’ll be able to demolish with the right preparation and mindset. Without further ado, here’s how to beat Phrike.
First things first: how do you find Phrike?
Although Phrike is the game’s first real boss fight, they’ll take some time to find. It’s the capstone battle on Returnal’s first level – or biome – and there’s a couple of steps you’ll need to take before you can even access Phrike’s lair.
The Overgrown Ruins is where Selene makes her crash landing, and it’s also the respawn point for players every time they die. It’s somewhat of a tutorial level too, drip-feeding the player a few central game mechanics as they progress further and further into the ruins.
To access Phrike, you will need to find the Anathema Key, allowing you to open the large circular door to the Anathema Vault. This is where our boy Phrike is chilling, waiting for you to drop in so they can straight-up murder you.

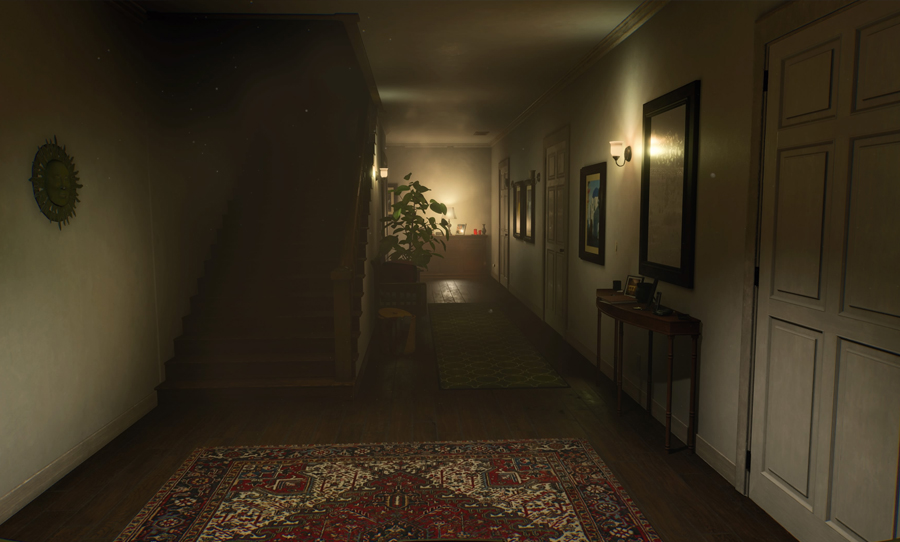
On my playthrough I found the Anathema Key after finding Selene’s House, which was also unlocked with a key. I had also found the Atropian Blade, unlocking a melee attack. If you haven’t yet delved into the Overgrown Ruins far enough to find the Anathema Key, look for these other items first. They’ll be especially useful on the path to Phrike.
Once you’ve found the key, you will receive a map marker pointing you to the Anathema Vault. You’ll know you’re getting close when you come to a large, open room with two enormous, symmetrical staircases climbing upwards.
This is a pretty tricky room which will change depending on your run, but it’s generally populated by turrets and large, searchlight enemies. Turrets are best defeated with a single melee swing, and the searchlight enemies can be temporarily disabled by shooting them in their ‘eye’ – look to the source of the lights and you’ll see them.
Climb the staircases, dispatch the enemies, and you’ll find yourself at the doorway to the Anathema Vault. Once you’ve unlocked the door, you’ll find a room with a big hole in the floor. Jump in, and Phrike will be waiting for you.
Always be prepared
To defeat Phrike, preparation is key. Don’t rush to attempt the boss over and over once you’ve unlocked the fight – you’ll want to push your weapon proficiency as high as possible before starting the fight, as well as investing in consumables and special items.
This means you’ll likely have to undertake quite a long run through the Overgrown Ruins before you even start the fight with Phrike, but your chances of beating them will be that much higher. The more enemies you defeat and the more rooms you clear, the more upgrades you’ll have.
Generally the best upgrades to find are ones that allow some sort of self-healing, as they’ll help you sustain Selene throughout the long clash with Phrike. If you’ve dispatched enough enemies, you’ll also have access to a more powerful weapon.
Before my successful attempt I reached weapon proficiency 5 and purchased an Astronaut Figurine (which will revive you with some health upon death, giving you a second chance) as well as a Large Silphium Vial health consumable. These can both be found in the shop-like area thats spawns somewhere in the Overgrown Ruins. Look for the Fabricator with four small pillars surrounding it – you can purchase these important items here for Obolites.
You’ll also receive one free Astronaut Figurine when you enter Selene’s House for the first time. As an extra freebie, there will always be a free weapon lying in the room before dropping down to Phrike. If you haven’t scored a high proficiency weapon on your run yet, remember there will be one waiting for you just before the boss.
So you’ve geared up. Now it’s time to fight the asshole.
How to beat Phrike
Phrike is tough, so don’t expect to beat them on your first run. Slow-moving projectiles are often combined with quick strikes, meaning you’ll be hard-pressed to find safe places to avoid damage.
Phrike has many attacks. Here’s what to look out for when you do battle with them:
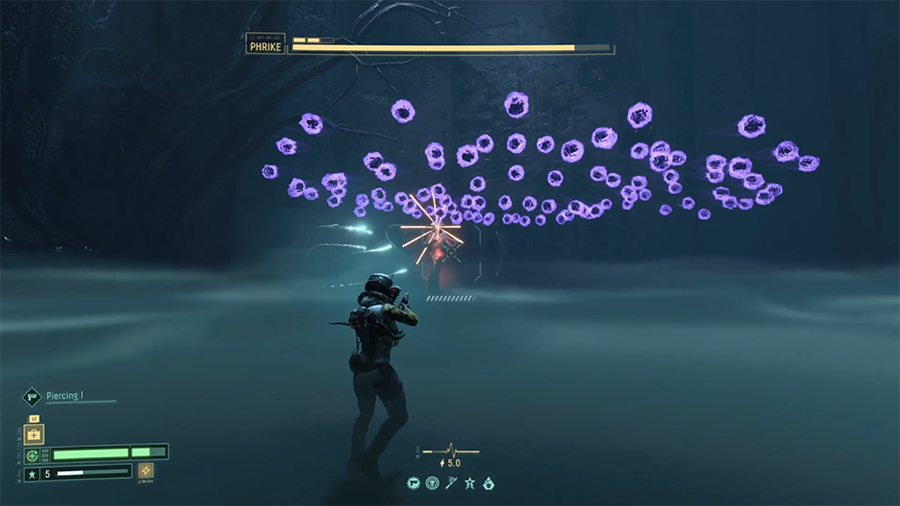
- Large purple bubbles: Phrike will raise their hands before unleashing many slow-moving purple projectiles. These can take various patterns, and even appear along the floor of the arena. The further from their point of origin you are, the more spaced out they will be, making dodging easier.
- Blue projectiles: A pulsing attack that releases many small, blue projectiles. These are the easiest to dodge – simply strafe left or right.
- Red projectiles: These move faster than the blue shots, but can still be dodged by strafing or a short dash.
- Eye laser: The quickest attack Phrike will lay you out with. Their head will light up, and shortly afterwards one of two lasers will emerge; one straight at Selene, or one that sweeps the room from side to side. Long dash through either – remember you’re invulnerable while in the animation. In phase three, this sweeping laser will swing back at you a second time, so watch out!
- Melee: Phase two onwards. Phrike’s right arm will glow red, then they’ll dash into melee range and strike. Long dash away from the attack to dodge it. In phase three, Phrike will dash at you more than once, so watch out for follow-up attacks.
- Ground laser: Phrike will zap the ground quickly, and a circular laser will roam outwards. Dash through it or jump over it, and be aware that two circles will appear in phase three. Hot tip: Phrike will always go for a melee attack after this move.
A few golden rules; keep moving, don’t be too focussed on dealing damage, and save your items for phase three if possible. It’s best to stop shooting when you know you’ll need to focus on dodging through a tough attack. Phttps://www.youtube.com/watch?v=ju0vbdHyGZwlay it safe, take your time, and don’t take unnecessary risks for small bursts of damage.
Phrike’s most dangerous attacks are the eye laser and the ground laser, the former because of how fast it is, the latter because it will always be followed by a melee strike. Watch how I dealt with these in the video above – after a few dodges, you’ll have this down.
Phase three – when you have already dropped Phrike’s health bar twice – is where the difficulty really ramps up. More purple bubbles will appear, more projectiles will be shot at you, and the attacks generally come out much faster than earlier in the fight.
Keep your cool and, if you can, try to get to this phase with your Astronaut Figurine and Large Silphium Vial still intact. It’s near impossible to avoid damage here, so be ready to mitigate it with some healing or a much-needed revive.
With those tips in mind, you should be well and truly ready to destroy Phrike! Honestly, it’s well deserved.
Way past Phrike? Read our guide on how to beat Returnal’s final boss, Ophion, here.