Dive into the nitty-gritty with Wave Racer as he dissects the production of his effervescent single, ‘Dreaming’.
Taken off Wave Racer’s debut full-length record To Stop From Falling Off The Earth, Dreaming offers up confessional lyricism, unforgettable melodies, and ear-catching flourishes of sound design. Wave Racer (aka Thomas Purcell) notes:
“My biggest challenge in producing this track was to consolidate this abundance of colours into a consumable and digestible song, without it ever feeling overwhelming, confusing, repetitive or repellent.”
Despite the self-deprecating tone, it’s clear that he’s met his own brief and then some. The layers interweave effortlessly — and despite the complexity of the arrangement — the track always maintains its bright and ethereal atmosphere.
Wave Racer has even invited everyone to download all the stems from his new album for your remixing inspiration! As you’re about to find out, he’s got a keen ear for detail, so he wants to hear your ideas too.
To get you in the mood, read on as Wave Racer takes you through the process of creating Dreaming.

Drums
“The main drum sounds in this song were recorded out of a Roland TR-8S drum machine, which I programmed to play some individual hits of some classic vintage drum machine sounds from the ’80s (e.g. Roland TR-707), using the onboard effects and saturation in the unit to give it some much-needed flavour and punch.
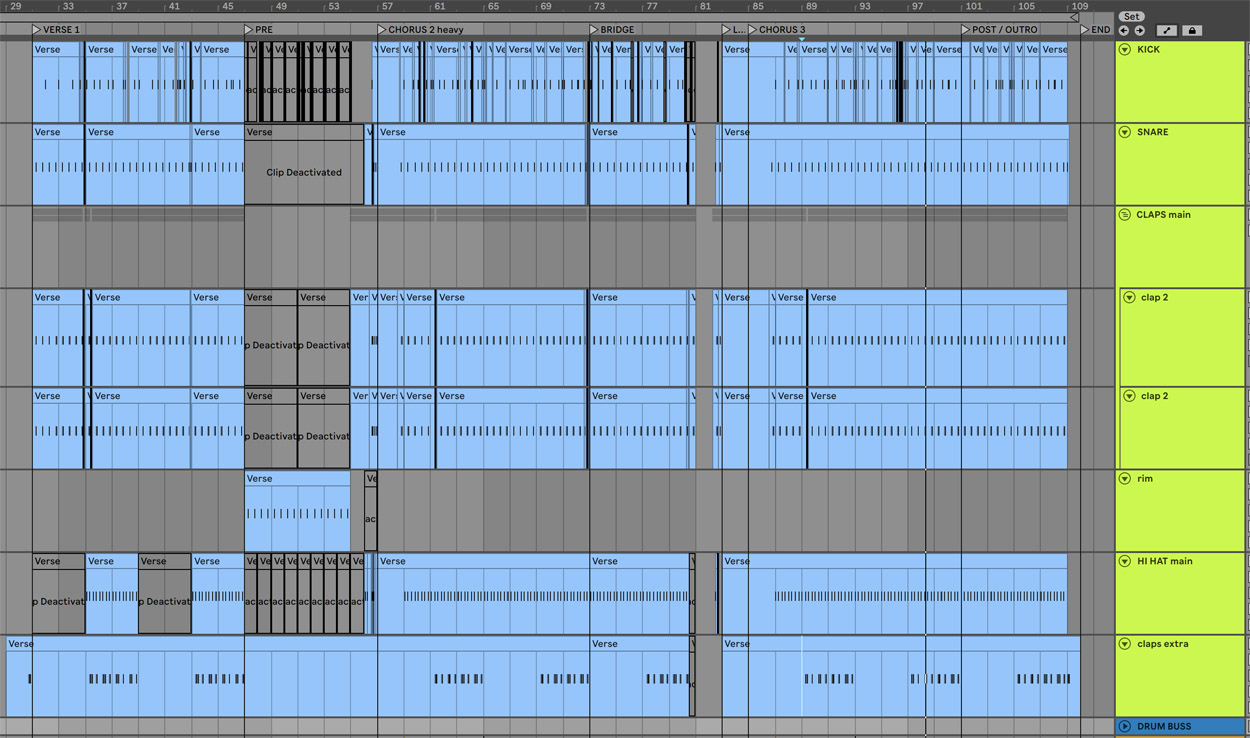
“I recorded the drum sounds from the machine directly into Ableton, chopped them into individual samples, and then subsequently programmed the drum parts into the song. Of course, a fair amount of further processing went into the drums to bring them to life.
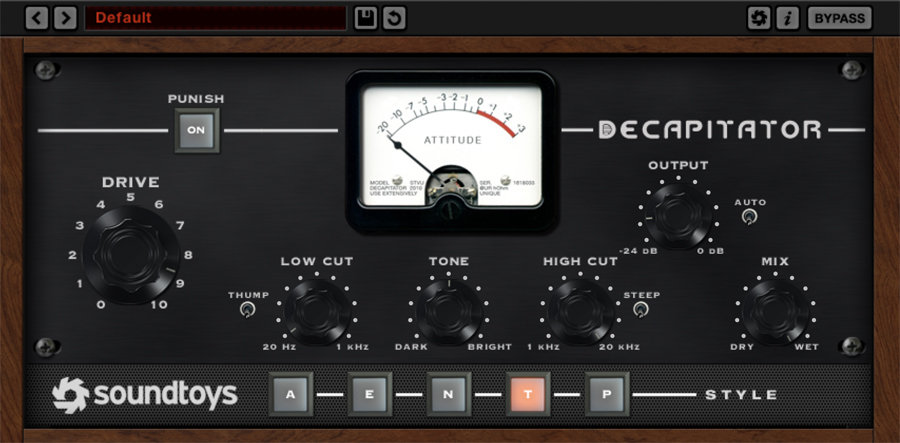
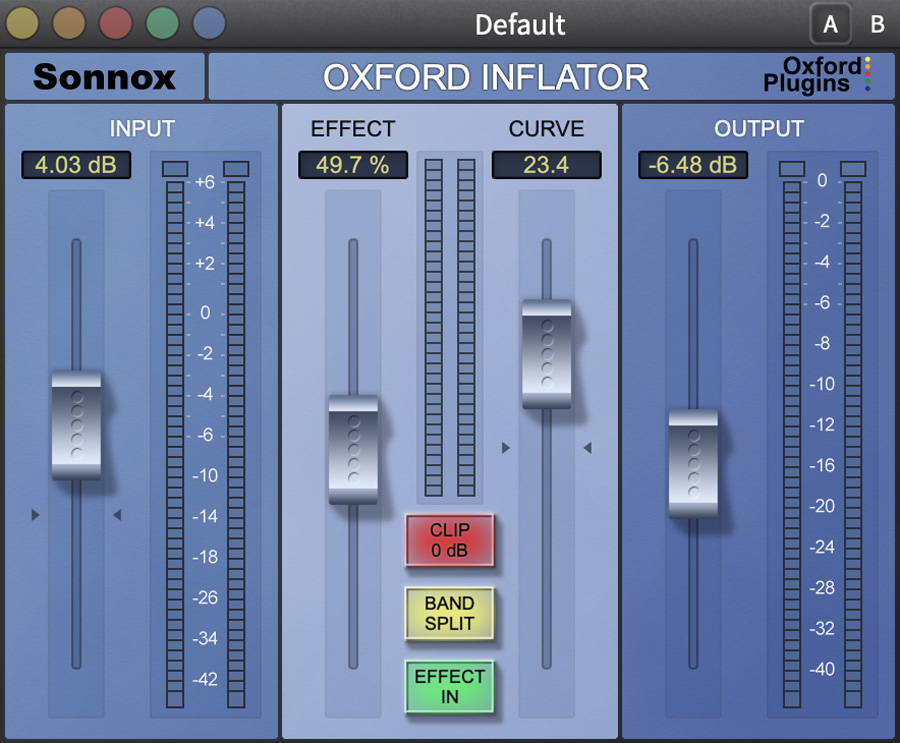
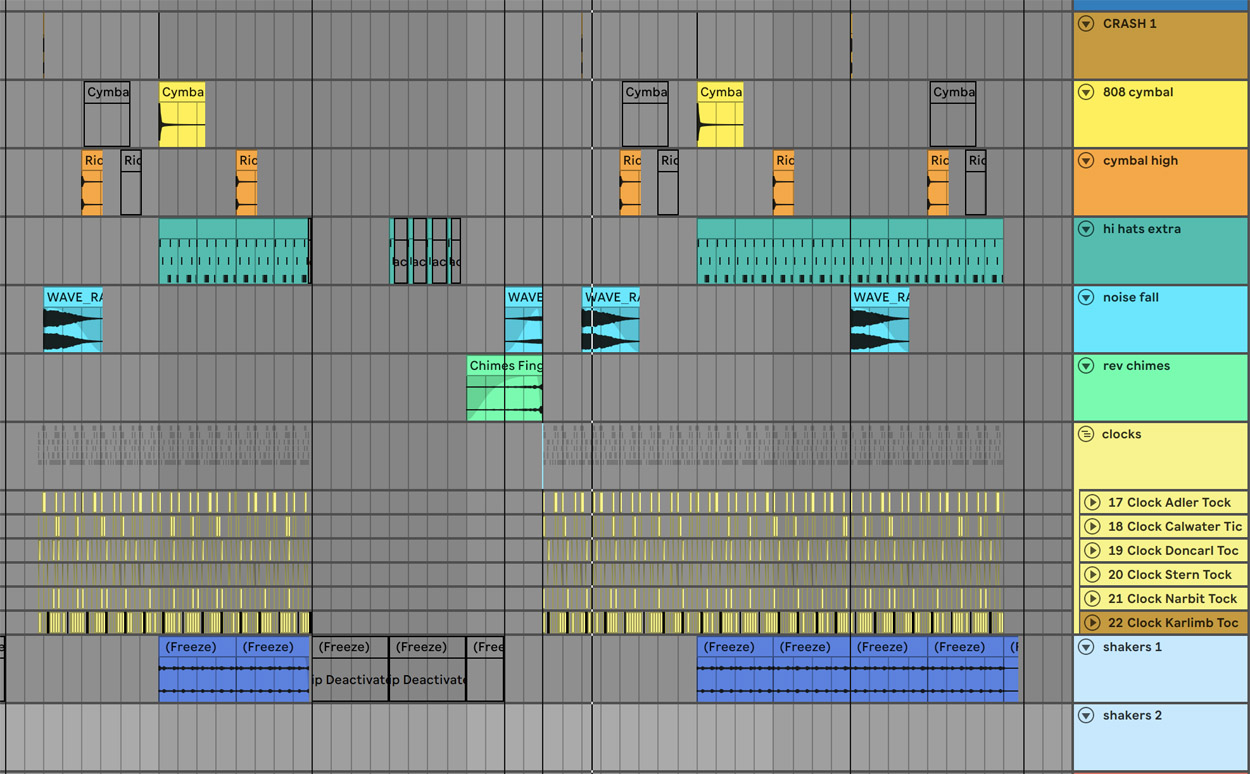
“The processing on the drum group consisted of a fair amount of EQ, compression and saturation, most importantly the Soundtoys Decapitator, Waves Puigtec EQP1A and Sonnox Oxford Inflator. These main drums were also supplemented with additional top-end percussion layers (consisting of various loops and samples) that sit on top and create colours and textures that change from section to section, as well as punctuating transitions between sections.
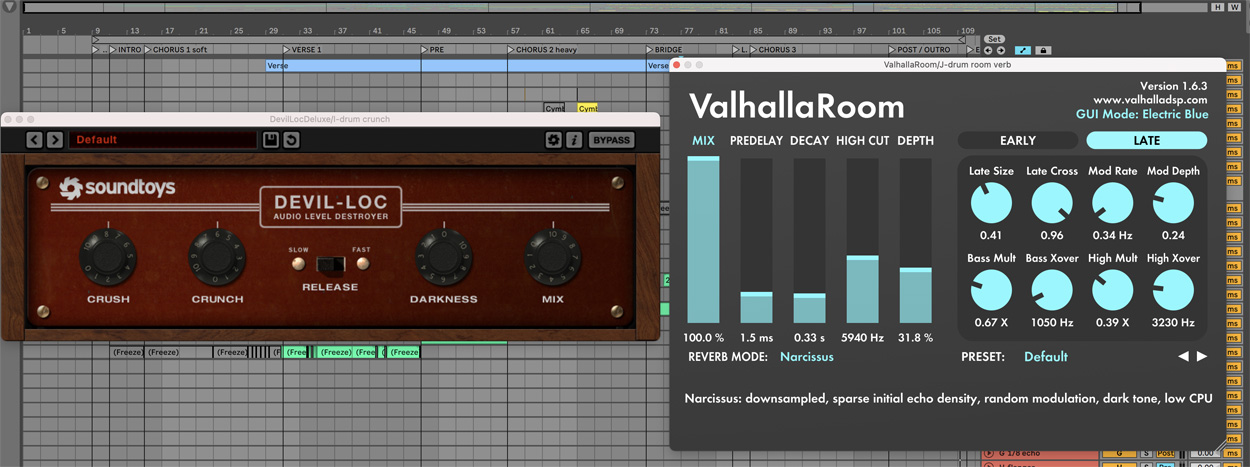
“For the drums mix, I set up a couple of return channels. One is for ‘crunch’ and has an instance of Soundtoys Devil-Loc, which really heavily compresses and saturates the drum sound, and the other is a ‘room verb’ which has an instance of Valhalla Room to create a sense of space and width for the otherwise very dry drum sound. Each of these has different amounts of the various drum sounds being sent to them, and are mixed in at low levels to subtly bolster the drum sound rather than overpower it.”

Bass
“There are several different types of bass sounds in this song. It’s a hybrid of bass guitar and synth bass sounds, both from a variety of sources.
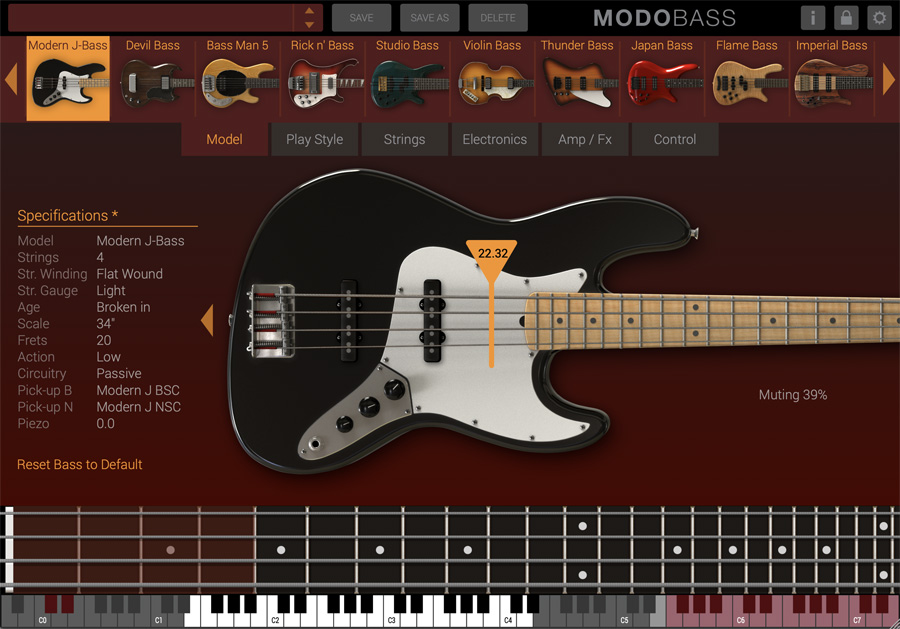
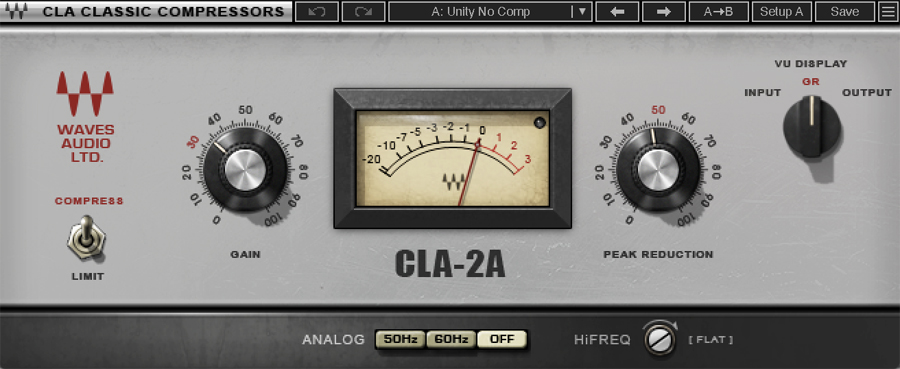
“For the intro and first chorus, I used IK Multimedia MODO BASS, which is an incredibly realistic physically modelled bass guitar synthesiser, with all the bells and whistles required for a good thick bass guitar sound (amps, FX, etc.). I ran this sound through the Waves CLA-2A compressor, which is a digital recreation of a classic vintage analog optical compressor, used famously on vocals and bass sounds.
“About halfway through the song, an actual real bass guitar comes in. This was recorded directly using my audio interface (no effects or amplifiers on the way in, just a clean DI signal) and was then processed using software, with some creative tricks and parallel processing to give the bass guitar sound a lot of depth and character.
“To start, the bass guitar recording was duplicated and split into numerous copies of itself, then each copy was processed differently, with different effects, amplifier simulations, and console emulations, with each one designed to focus on a different frequency band (i.e. treble, mids, bass).
“Then, all the layers were re-combined and mixed together to create the full bass guitar sound. This technique is known as ‘parallel processing’ and is extremely powerful for creating dynamic, rich and detailed sounds as it gives a huge amount of control over the textures and sonic qualities that you want to access in any sound.
“For this song, I had a ‘main’ bass guitar sound that consisted of a clean DI signal (with some mild saturation applied), layered with a ‘dirty’ amp signal which was being processed using Positive Grid’s BIAS FX 2, using a heavy bass amp simulation along with some boost and EQ pedal simulations.
I removed all the top end from the ‘amp’ layer, and inversely removed all the low end from the ‘DI’ layer, so the two layers would combine in a complementary way. In combination with those two main layers, I also added a ‘fuzz’ layer, again using BIAS FX 2, but this time with just a singular effect running, which was a digital emulation of the famous ZVEX Fuzz Factory pedal. Again, I removed all the low end with an EQ to not interfere with the cleaner bass frequencies being provided by the main bass layers. This helped create an awesome fizzy and crunchy tone in the bass section that brought a lot of excitement into the mix.
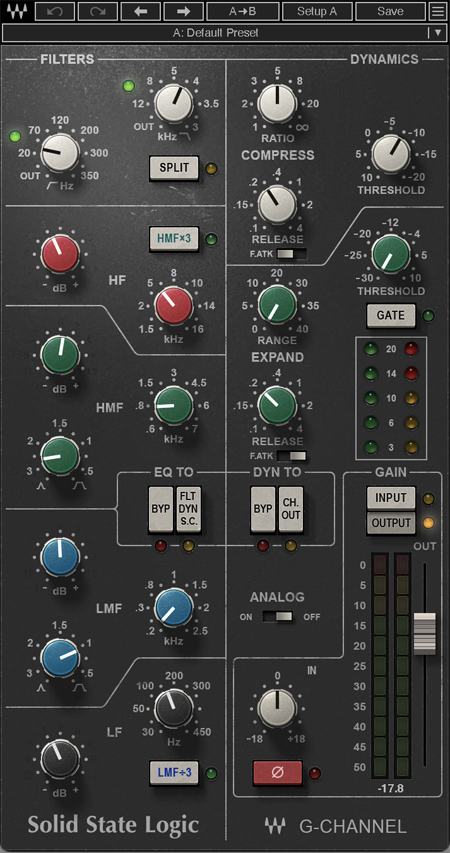
“In addition to the bass guitar, there are also some synth bass layers playing in unison, coming from my Moog Subsequent 37 analog synthesiser. I sent the bass notes to the synth using a MIDI connection, and then recorded the synth twice, once again using the parallel techniques to thicken up the synth sound with digital processing in Ableton. Used the Waves SSL G Channel on these Moog layers, to somewhat replicate an analog signal chain and give the synth a slight vintage character.
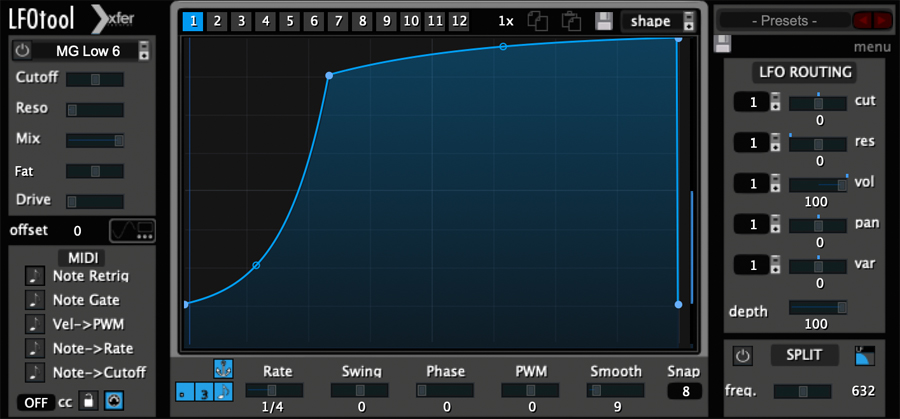
“Later in the song, there is the ‘phaser pluck bass’, which was created using a hardware Yamaha Reface DX keyboard. To make it pump and move in time with the song’s beat, I used Xfer LFO Tool for a ‘sidechain’ effect which simply ducks the volume of the audio in time with the song’s tempo, like the classic sidechain compression effect heard in all dance music. A simple effect, but incredibly useful for creating movement in an otherwise static sound.”


Guitars
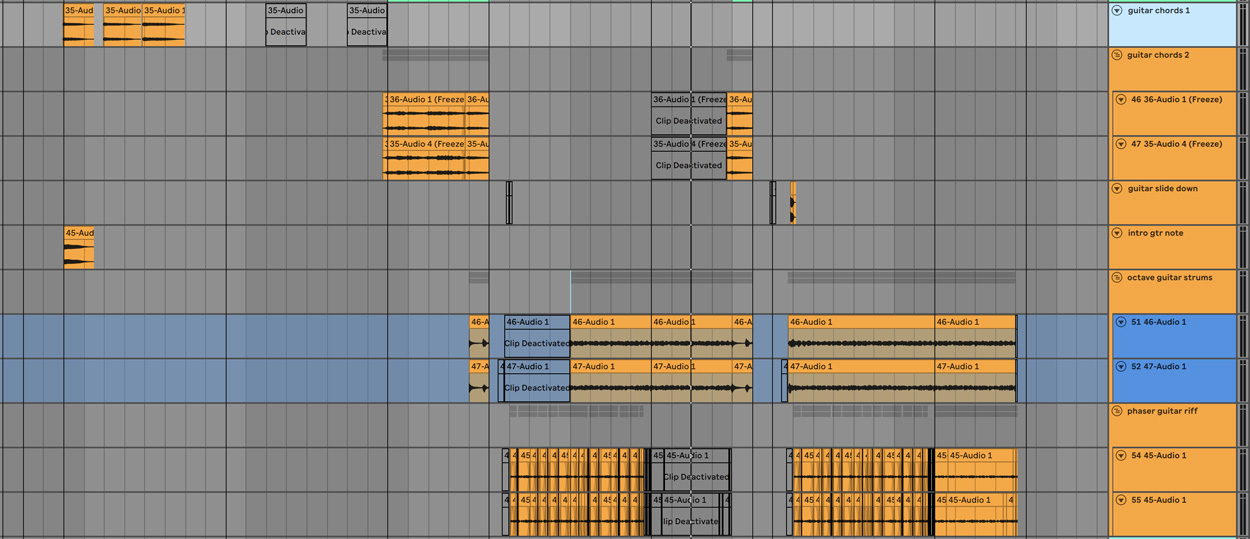
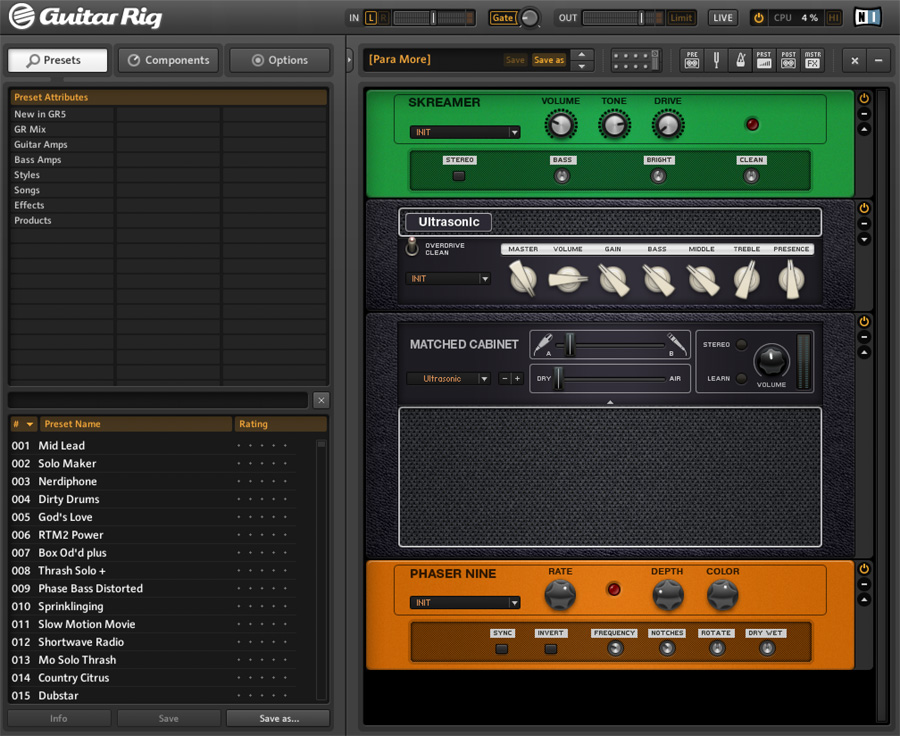
“The guitar parts in this song were recorded at different times, many months apart, during which time I acquired new studio gear. Due to this, half of the guitar layers were recorded directly into my interface and then processed using Native Instruments’ Guitar Rig 5. The rest of the parts were recorded using a Kemper Profiling Amplifier, which eliminated the need for software plugin processing on those parts.
“As a result, there’s a lot of dynamic in the sonics of the guitar sounds as they come from different sources and different setups, which I liked. Surprisingly, the ‘cheaper’, ‘digital’ processing sounds just as good as the more ‘deluxe’ hardware stuff, in my opinion.
“I think ultimately, the way in which the guitars are layered, doubled up, and panned left and right really contributes to the size and feel of the guitar sounds, as well as the choices of pedal effects and amplifier settings to generate the tones.”
Keyboards
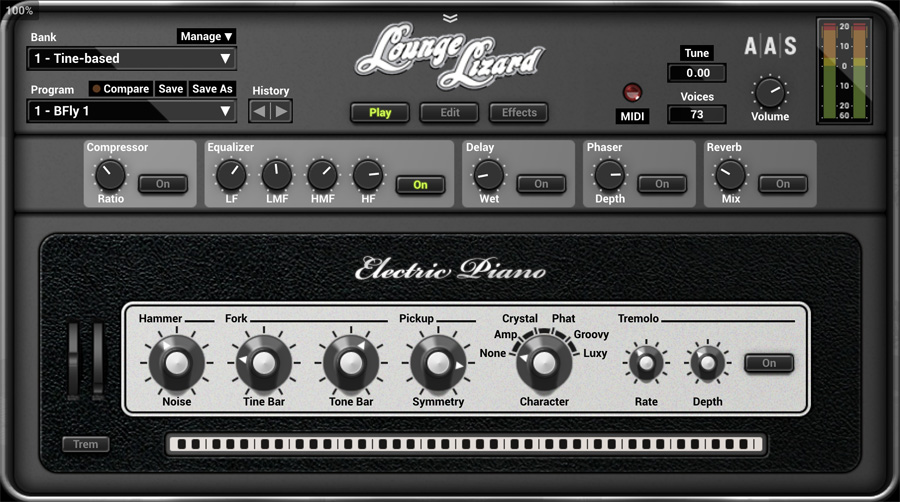
“Most of the keyboard sounds in the song were recorded using hardware synths and hardware keyboards, but notably, some of the most prominent parts were made using the Lounge Lizard plugin by Applied Acoustics Systems. It’s a physically modelled electric piano instrument, capable of reproducing extremely accurate emulations of Rhodes, Wurlitzers, and other iconic electric piano sounds.
“In total, there are three instances of this instrument in the project, each playing different parts at different moments, each with their individual parameters dialled in slightly differently. This makes up a large portion of the harmonic information in the song.
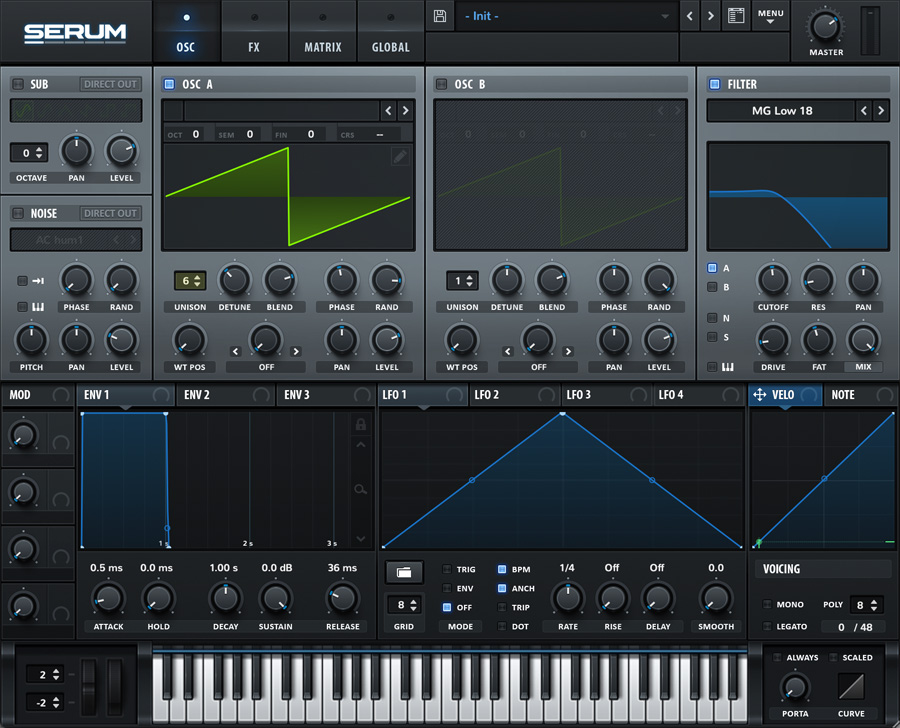
“There is another synth pad layer courtesy of Xfer’s Serum, which is just a basic saw wave synth pad, heavily low-pass filtered with plenty of unison and width, serving to reinforce the chordal information at many points throughout the song. I also used Soundtoys Radiator to give it some analog warmth and air and let it sit in the mix slightly better.”

Vocals
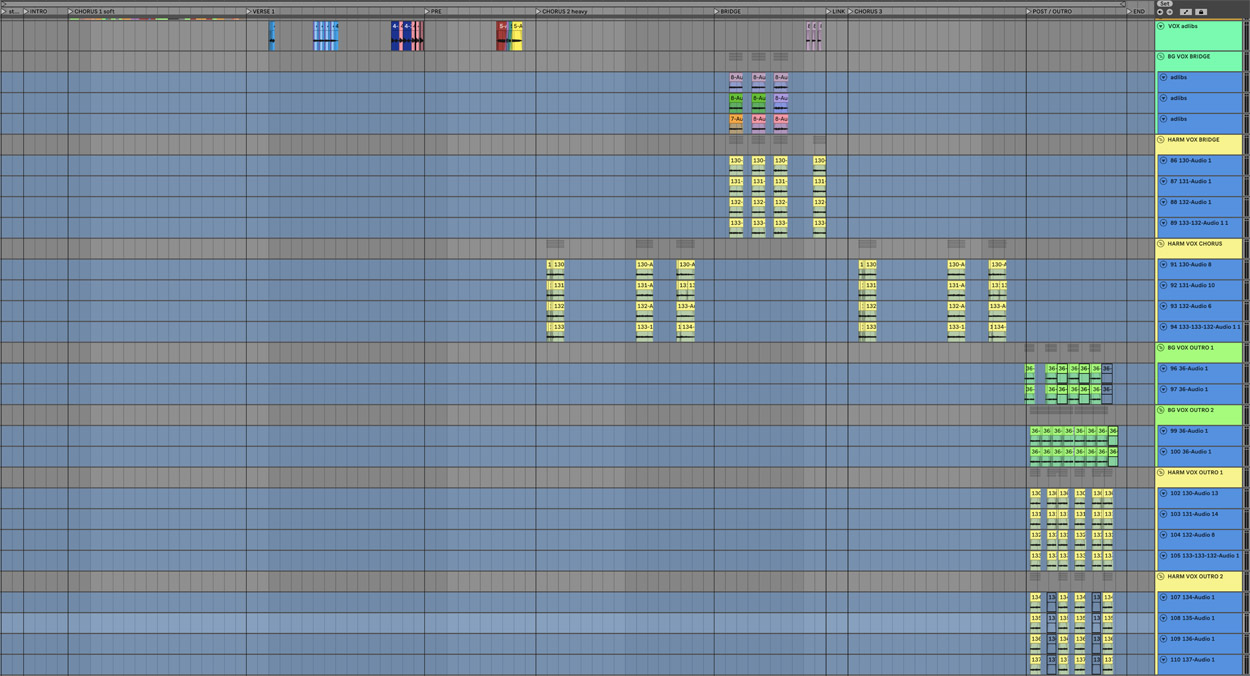
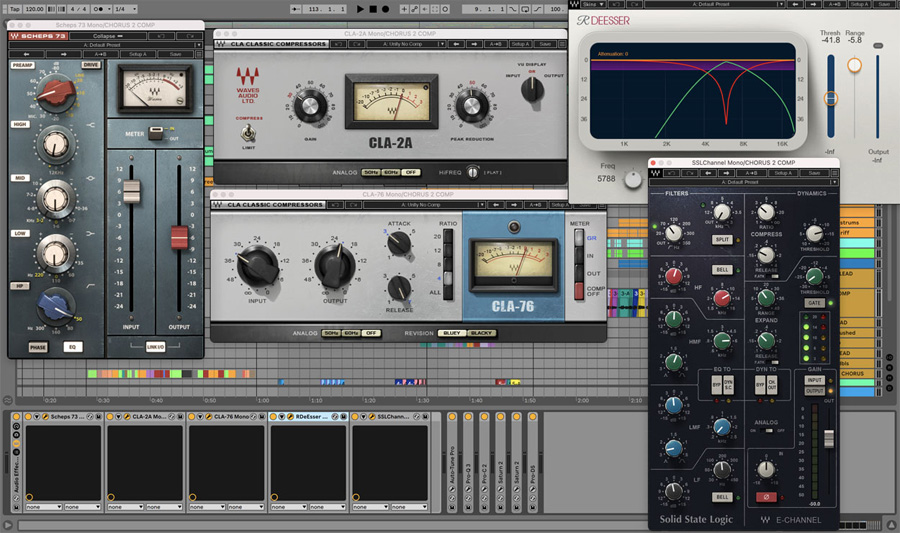
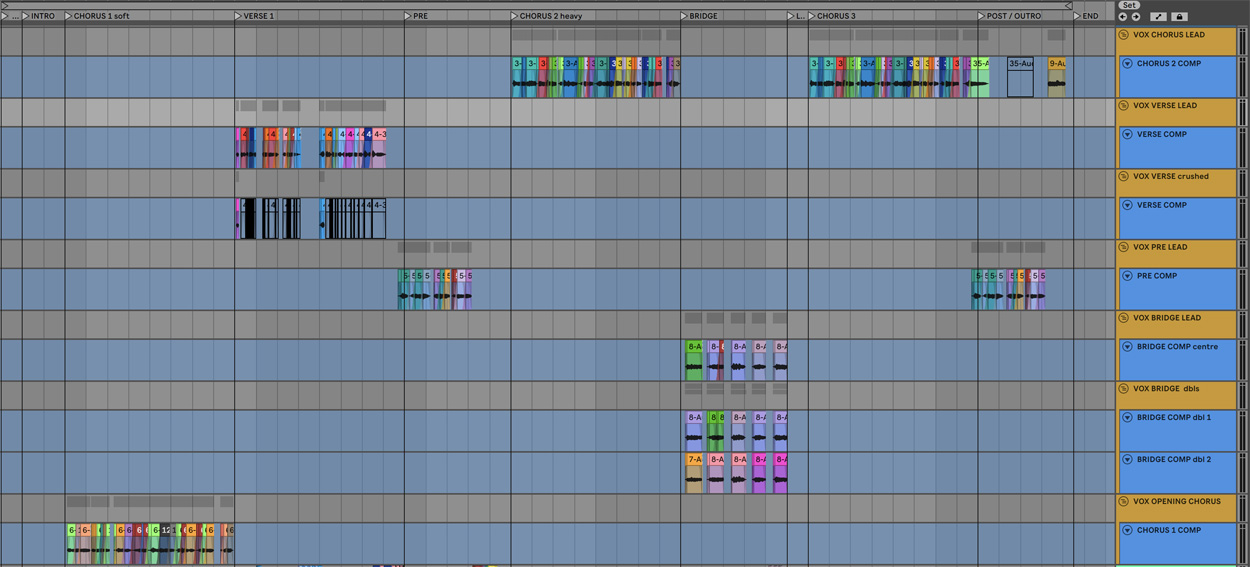
“There is a tonne of vocal layers in this song, especially in the backgrounds. For every song I make, I like to build a fundamental vocal chain that serves to emulate an ‘analog’ recording chain, and I copy and paste this to every vocal layer in the song, before going further with more tailored digital sounding processing for each section.
“Having an analog chain emulation helps give each vocal part a bit of colour and saturation before it gets processed any further or mixed, and also helps to create a sense of ‘realness’ that raw vocals, ironically, don’t have.
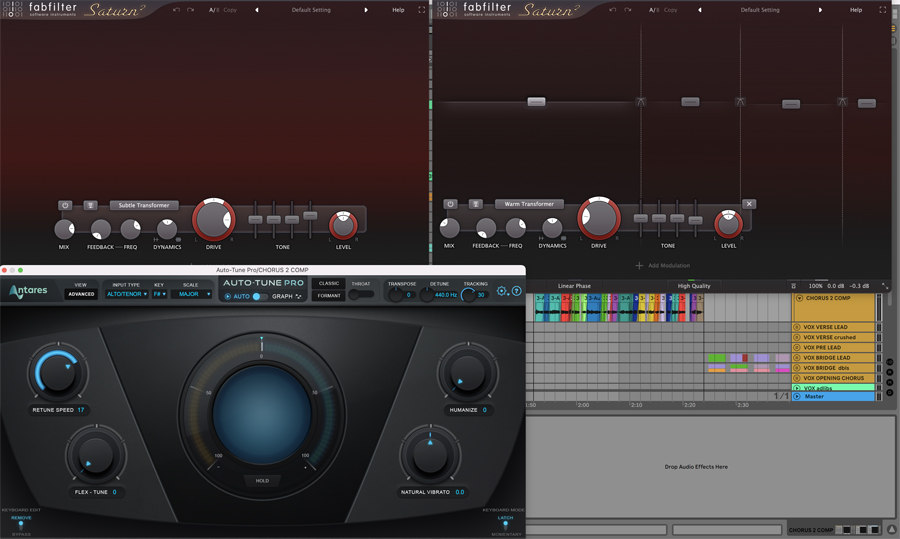
“One of the other tricks I use to bring vocals to life is using Fabfilter’s Saturn 2, which is a multi-band saturation effect. I often use multiple instances of it, but primarily, I’ll utilise the top frequency band to bring air and brightness into any vocal sound. And with the way the saturation is voiced, and by using it subtly, I can avoid making it sound artificially boosted or shrill. I also use the other frequency bands in Saturn to shape the tone of the vocal to sit amongst the rest of the instrumentation in the song. I used this same effect for the heavy distortion sounds that appear later in the bridge too.
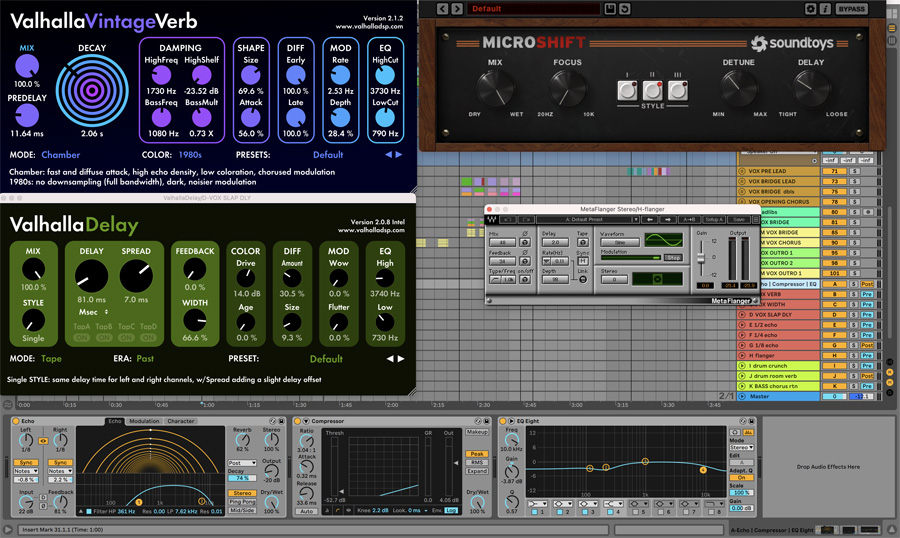
“For some subtle width and movement in the vocal sound, I have some return channels set up with various modulation effects, including Soundtoys Microshift, Valhalla Vintage Verb, Valhalla Delay, Waves Metaflanger, and Ableton’s stock Echo effect. I send the various vocal layers to these channels in varying amounts, depending on the vocal part. I also use automation on these channels to create movement throughout the song.”
Feeling inspired after Wave Racer’s incredible production breakdown? He’s just released the full album stems from To Stop From Falling Off The Earth for your remixing pleasure! All the details can be found here.
In the meantime, listen to Dreaming below.
