Choosing your own organic samples for custom instruments and diversifying your techniques is a sure-fire way to save money and inject new flavour into a mix.
Are you a musician, producer or composer? Great, so is everyone else. But before you push off on a raft built with the wreckage of your future aspirations, there’s a technique that may help you cut through the noise… sampling.
If at this point you’re thinking, “Gee, wow! I’ve NEVER heard of sampling before” in an honest sense, then you should do a little reading on sampling first, otherwise, you’re probably being sarcastic and should read on.
People fall short by assuming that the potential of sampling only goes as far as simply placing, processing and triggering audio clips, and this is where our advantage lies: custom-built virtual sample instruments.
Homebrew Sample Instruments
They’re like musical moonshine: learn to create your own unique flavours.
Currently, there are numerous virtual sample instrument packs available online by developers such as Native Instruments or Spectrasonics. While some of these sound fantastic, they are often very typical replications of ordinary instruments and cater to a mass market. However, you can build your own exclusive library of distinctive sampler instruments while avoiding the hefty price tag associated with these purchases.
If crafted correctly, these custom software instruments can be organic yet abstract and will have people saying “What the fuck is that sound? I love it”.
Find Your Preferred Software and Learn It
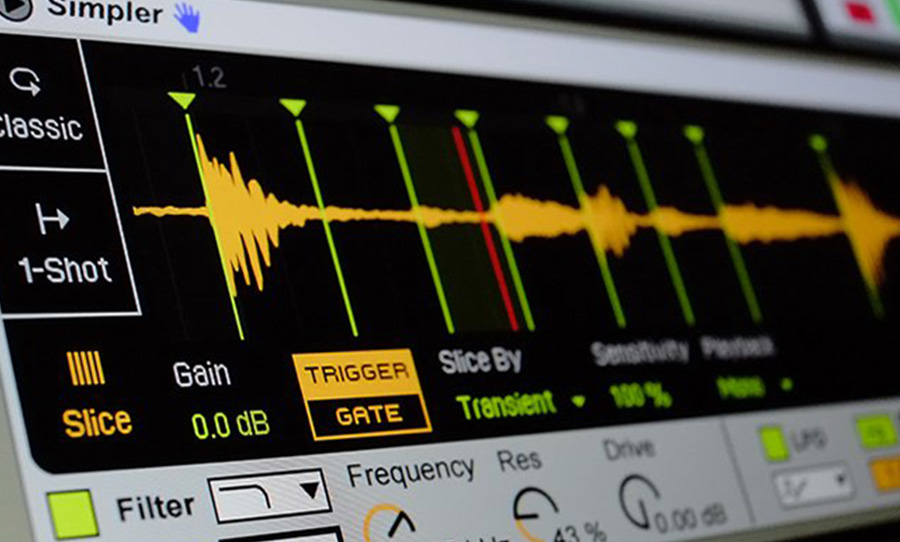
First up, you’ll need a software sampler. You may already have Kontakt, and if you don’t then it’s definitely worth considering the investment as it’s a powerful and versatile sampling software. Other options are Logic Pro’s powerful EXS24, or Ableton’s awesome stock sampler. It’s all a matter of testing and finding your preference.
When it’s time to build your first instrument, get to know your software first. If you don’t understand the interface you’re working with, you’ll be flying blind and potentially missing out on utilising some seriously powerful features. There are many fantastic and free tutorials online to quickly get you familiar with the software of your choice.
Choosing Your Samples
Now that you know a bit about what you’re working with, you can start to build some virtual instruments.
When choosing your samples, consider using organic sounds rather than synthesised ones. Natural characteristics and nuances in acoustically recorded sounds really come to life in these virtual instruments, whereas synthesised sounds can be harder to process without winding up sounding similar to what you started with. Recording your own voice and processing it is a really interesting technique (listen below).
The method of building your first sampler instrument is fairly easy. You can start by simply spreading a chosen sample over the keyboard so that it can be played in various notes and pitches. This is a good way to get your head around the process while creating a practical and useful sample instrument.
When you’re ready to step it up a notch, there are countless sampling techniques to get you thinking like a mad scientist, bringing to life some truly unique sonic creatures.
Sampling Techniques
Pitching: Compare the outcome of pitching with and without warping, so that the sample length either locks or changes with the pitch, this will have drastically diverse effects on the sounds, character and texture. For instance, a fast sharp violin note pitched down a few octaves without warping can transform into a lush cello-like pad.
Layering: Try stacking multiple samples of contrasting natures on top of one another. For example, combining the sharp attack of a percussive instrument and the airy timbre of a wind instrument – along with a bit of pitching and processing – can produce a completely foreign yet organic-sounding instrument. Another great trick is to duplicate a sample into several layers pitched to different octaves, which adds serious depth to an otherwise humble sound.
Velocity: With a good handle on velocity, you can create sounds with rich dynamic qualities. This can be achieved by allowing certain layers to trigger at specific velocity levels, allowing you to be more expressive with your playing and giving the instrument added natural appeal. There are also plenty of parameters that you can route your velocity to, like the decay of a sound which, when played soft, is short and muted, and when played hard becomes long and resonating.
Modulation: Next you might want to add some modulation to your instrument. A simple yet effective method for enhancing your creation is to route the volume parameter of a specific sample layer to your mod wheel. This allows you to control and introduce a certain textural element as you’re playing, giving you more creative control. Otherwise, introducing a subtle vibrato or tremolo with the mod wheel can give your sound an organic and expressive quality.
Looping: This can be a little tricky to get right, but with a bit of smart programming you can create infinite loops. Or as a simple hack, most sampler software has a loop fade feature that allows you to set a crossfade length so that the sample can loop seamlessly.
Go another step further with this technique and set the loop region somewhere in the middle of the sample. This allows you to keep the natural attack of the sample before it begins looping. Then, import just the release tail of the sample as an individual sample, and set it to be triggered by key release. This means that when you trigger the sample, you get the attack, an infinite sustain and a natural release when you let go of the key. When you get this working properly, it’s a beautiful thing.
Have fun and experiment. More often than not, the creations that go off the rails end up being the most unique and therefore useful in diversifying your sound palate.
