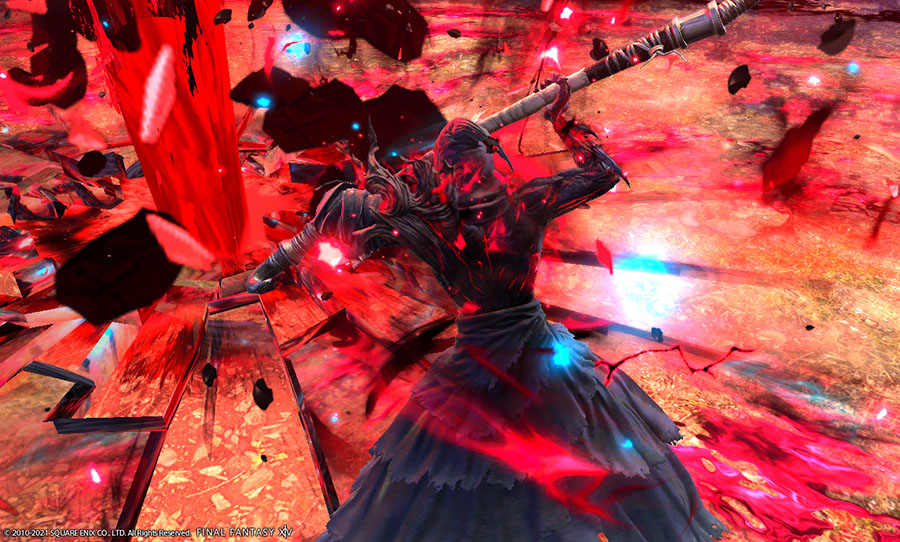
This is Reaping 101: your guide to everything tall, dark, and handsome in Final Fantasy XIV: Endwalker.
Final Fantasy XIV’s newest expansion Endwalker is finally live, bringing with it a whole new season of epic storytelling, new content, and of course, new combat jobs. Armed with its signature scythe and a Voidsent Avatar, the Reaper utilises the Soul Gauge and Shroud Gauge to unleash heavy DPS in its burst windows. Here’s a basic guide for the new Reaper job, in all its edgy glory.
The Reaper is a Disciple of War and is classified as a Melee DPS role. Like the Dragoon, it uses Maiming gear, but uses Striking accessories instead of Maiming ones. As a Melee DPS, some of its skills have positional requirements, though not have as many as Monk or Ninja, so beginners can pick up Reaper without worrying about getting overwhelmed.

Unlocking Reaper
The unlock quest for Reaper can be found in Ul’dah – The Steps of Nald (X:12.8 Y:8.6). Talk to the Flustered Attendant and pick up the quest ‘The Killer Instinct’. Do note that you need to have a level 70 Disciple of War or Magic and have the Endwalker expansion purchased in order to pick it up.
Completing the quest rewards you with a set of Reaper job gear, and completing the duty lets you familiarise yourself with the job’s basic kit.
Positionals
If Reaper is your first Melee DPS, you’ll want to take note of this: Reaper’s Gibbet and Gallows both have positional requirements – dealing additional damage if executed from the flank and the rear specifically.
Take a look at a standard mob targeting circle – consider the little point as ‘North’. The ‘East’ and ‘West’ would be the flank positionals, and the ‘South’ would be the rear positional.
The role skill True North is every Melee DPS’s bread and butter. With a maximum of two charges, it allows you to reap (pun wholly intended) the increased potency benefits of Gibbet and Gallows without having to be in the rear or flank positions.
As a rule of thumb, it’s generally good practice to move into your respective positionals as often as possible, but for some bosses that frequently move around and/or reorient themselves (or if your tanks simply enjoy fighting for aggro), it simply isn’t possible or feasible.
Reaper resources
A Reaper’s main resources are the Soul Gauge and Shroud Gauge, which you build up upon successful execution of your base single target and AoE combos. The Soul Gauge is primarily spent on either the single target skill Blood Stalk or the AoE skill Grim Swathe, and later skills like Gluttony.
The oGCD skills Soul Slice (single target) and Soul Scythe (AoE) will give you 50 Soul Gauge upon successful execution, and will have a maximum of two stored charges once you hit level 78. They share a recast timer of 30 seconds. Be sure to avoid capping those charges, and mind your Soul Gauge so you do not end up wasting it – do not use Soul Slice or Soul Scythe when your Soul Gauge is above 50.
On the other hand, the Shroud Gauge is primarily utilised when a Reaper uses Enshroud, entering a state of possession (Enshrouded) courtesy of our local Voidsent Avatar at the cost of 50 Shroud Gauge. Shroud Gauge can be built up upon execution of Gibbet, Gallows, and Guillotine, with each successful execution granting 10 Shroud Gauge. Upon entering this state, Reapers will be granted 5 Lemure Shrouds that appear as blue orbs on the gauge, which are used to unleash massive attacks on enemies.
Each Lemure Shroud used grants you a Void Shroud, denoted by a pink orb on the gauge, which unlocks more new abilities that can be weaved into your rotation. The level 88 skill Plentiful Harvest also grants 50 Shroud Gauge, but that will be covered later.
Soul Reaver is another resource Reapers have. It lets them execute the Gibbet, Gallows, and Guillotine skills. Gluttony gives you 2 stacks of Soul Reaver, while Blood Stalk and Grim Swathe set your Soul Reaver stacks to 1 – they should only be used when you have 0 stacks. Unveiled Gibbet and Unveiled Gallows are fundamentally the same as Blood Stalk, but with an increased potency.
Do note that any ability that gives you Soul Reaver stacks has to be followed by Gibbet, Gallows, or Guillotine, or else the Soul Reaver stack will be lost. Though with Endwalker increasing the amount of time available for one to complete a combo, this shouldn’t be much of a problem.
Skills
So you’ve unlocked Reaper, but now what? Don’t worry, we’ve got you. Here is a brief rundown of all the Reaper skills, grouped according to their respective combos and/or utilities.
- Slice, Waxing Slice, Infernal Slice: Your standard 3-part melee combo. Each part increases your Soul Gauge by 10 if executed in the right order (Slice just increases it by 10, but you wouldn’t want to just sit there spamming Slice for obvious reasons). Do note that if you enter a Shroud Phase with an active combo, you have 30 seconds to resume and finish it before it resets.
- Shadow of Death, Whorl of Death: Single target and AoE skills respectively. Both inflict their targets with Death’s Design, a debuff that increases the damage a Reaper does to the target by a whopping 10%. It can stack for up to 60 seconds, with each application/reapplication adding 30 seconds to the timer. Spicy, but that’s not all – enemies that die while afflicted with Death’s Design will add 10 to the Reaper’s Soul Gauge. Keep this up at all times, it’s way too good to drop.
- Harpe: A ranged ability that becomes instant when used after Hell’s Ingress or Hell’s Egress. Good for keeping your GCD rolling if you need to move away from the boss for a bit.
- Spinning Scythe, Nightmare Scythe: Your standard 2-part AoE combo. Like the melee combo, Spinning Scythe grants 10 Soul Gauge, while Nightmare Scythe grants 10 Soul Gauge if executed as part of the combo. Likewise, if you enter a Shroud Phase with this combo still active, you have 30 seconds to complete it before it resets.

- Arcane Crest: Reaper’s personal mitigation, it starts out similar to Black Mage’s Manaward, but with one third the shielding, nullifying 10% of your total HP’s worth of incoming damage compared to Manaward’s 30%. However, it has a significantly lower cooldown – an impressive 30 seconds compared to Manaward’s 120 seconds. The low cooldown means that you can use it rather liberally, which is great, but if you thought that was good, it gets an upgrade at level 84, which gives your party members a 100 potency regen for 15 seconds. That is essentially a 500 potency heal on the party at its full duration – for reference, a White Mage’s Cure is 450 potency. Press this in a pinch, or before a raidwide or stack mechanic if you want to make your healer’s life easier. They’ll probably thank you (I definitely will).
- Blood Stalk, Grim Swathe: Single target and AoE damage skills respectively. They each cost 50 Soul Gauge, and are your main source of Soul Reaver in the early game before you gain access to Gluttony. It is only used in the late game if you drop the Enhanced Gallows/Gibbet buff.
- Soul Slice, Soul Scythe: As previously mentioned, these skills share a recast timer and grant you 50 Soul Gauge, with a 30 second cooldown window. At level 78, players will be able to store 2 charges of these, so ensure that you do not have your charges capped.
- Gibbet, Gallows: Your standard single target positional-based skills. Gibbet is the flank positional, while Gallows is the rear positional. Make sure you hit them as often as possible – the 60 potency difference may not look like much, but it adds up.
- Guillotine: A cone-shaped AoE attack. Use this against multiple targets instead of Gibbet or Gallows.
- Unveiled Gibbet, Unveiled Gallows: Essentially the same as Blood Stalk, but with 60 more potency. You will usually be using these instead of Blood Stalk after unlocking Gluttony, provided that you maintain the Enhanced Gibbet and Enhanced Gallows buffs.

- Arcane Circle: Reaper’s party-wide buff. It grants a 3% damage buff to the user and any party members within range for 20 seconds. Not only that – party members also gain a 5-second Circle of Sacrifice buff, and the Reaper that used the skill gains the Bloodsworn Circle buff for 6 seconds. During the duration of the Circle of Sacrifice buff, each successful weaponskill and spell cast will grant the Reaper a stack of Immortal Sacrifice, up to a maximum of 8. After the Bloodsworn Circle buff wears off, Plentiful Harvest can be used.
- Plentiful Harvest: A straight line AoE attack that increases in potency based on the number of Immortal Sacrifice stacks the user has. It gives you 50 Shroud Gauge and also consumes all stacks of Immortal Sacrifice upon use.
- Hell’s Ingress, Hell’s Egress, Regress: Reaper’s forward and backward movement skills. At level 74, the Reaper will leave behind a Hellsgate at their original position, and the usage of Regress allows them to ‘teleport’ back to that Hellsgate.
- Gluttony: Your main source of Soul Reaver stacks once you hit level 76. It costs 50 Soul Gauge and deals AoE damage, though I would say that the most notable thing about this skill is the Soul Reaver stacks it provides.
- Enshroud, Void Reaping, Cross Reaping, Grim Reaping: Enshrouds the Reaper, gaining 5 Lemure Shrouds, which will be used to execute Void Reaping and Cross Reaping against a single target, or Grim Reaping against multiple foes. Each Lemure Shroud used grants 1 Void Shroud, which will be used to execute Lemure’s Slice or Lemure’s Scythe.
- Lemure’s Slice: Single target oGCD attack.
- Lemure’s Scythe: Conal AoE oGCD attack.
- Communio: A spell with a 1.3 second cast time. Using this costs 1 Lemure Shroud and automatically ends the Enshroud phase, so it should only be used when you have 1 Lemure Shroud left. It is the finisher of your Enshroud combo.
- Soulsow: Grants Soulsow to self, which changes the action into Harvest Moon. Although it is an instant cast outside of combat, it has a 5 second cast time while in combat. As such, it is advisable to use it during downtime – such as before a fight, between mob pulls or when a boss becomes untargetable.
- Harvest Moon: Primarily used for big AoE damage, or as a ranged attack on single targets when you are unable to return to the boss.

Level 70 Rotation
Just picked up Reaper and don’t know where to start? Here’s a basic outline of your level 70 rotation. If you’re worried about queuing with others, take it for a spin in a Trust Dungeon to feel it out first.
Reaper’s rotation is pretty straightforward at level 70, and slowly builds its way up with the dual gauge that is made available once you’ve unlocked Enshroud at level 80.
Single Target
Shadow of Death > Slice > Waxing Slice > Infernal Slice > Blood Stalk > Gibbet (flank) or Gallows (rear)
Shadow of Death is used in place of a customary DoT skill – make sure you refresh it if needed. Soul Slice is a nifty oGCD that gives you 50 Soul Gauge, so use that whenever it’s off cooldown.
Make sure to hit the positional requirements for Gibbet and Gallows too, that 60 potency increase is no joke. If you think you won’t be able to hit a positional… well, there’s always True North.
Multi Target (AoE)
Whorl of Death > Spinning Scythe > Nightmare Scythe > Grim Swathe > Guillotine
Whorl of Death will apply an AoE Death’s Design on all targets within its range, making it the perfect opener for AoE spamming. Soul Scythe is the AoE version of Soul Slice and gives the same 50 Soul Gauge, so use it whenever you can to build up Gauge.
There are no positional requirements for this rotation so just sit back and go ham with your skills.
And that’s it for our Endwalker Reaper job guide. For more in-depth reading and theorycrafting, take a look at this document by Ellunavi Sevald from the Balance Discord, which you can also check out for endgame Reaper resources such as optimisation, openers and rotations.
Haven’t preordered Endwalker yet? Get the game here so you too, can Gibbet, Gallows, and Guillotine your way around Eorzea. Happy Reaping!
For more FFXIV Endwalker content, check out:
The Tower of Zot Walkthrough
The Tower of Babil Walkthrough


