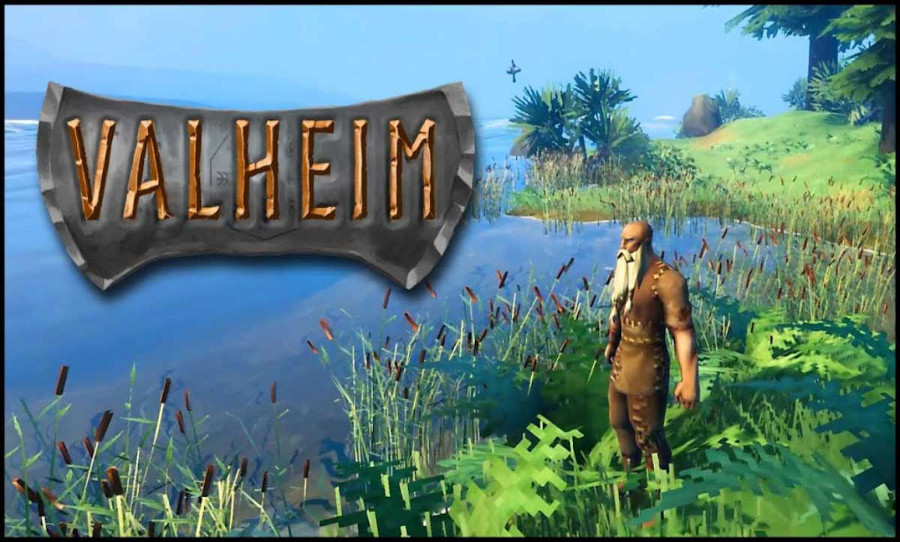
Everyone is jumping on the Valheim bandwagon, and you should too. We decided to crawl through this sprawling, viking world so you could get a running start.
Right now everybody who’s anybody is talking about Valheim. The survival RPG is topping Steam’s best-seller list, and the development team of five are enjoying the well-deserved profits from two million sales so far. It’s a true viral sensation, but that doesn’t mean it’s necessarily nice to newcomers.
Valheim is a world populated with banished creatures of chaos and enemies of the gods. As expected, they aren’t too fond of your arrival. Here’s what you need to know to survive.
Step 1: supplies, supplies, supplies
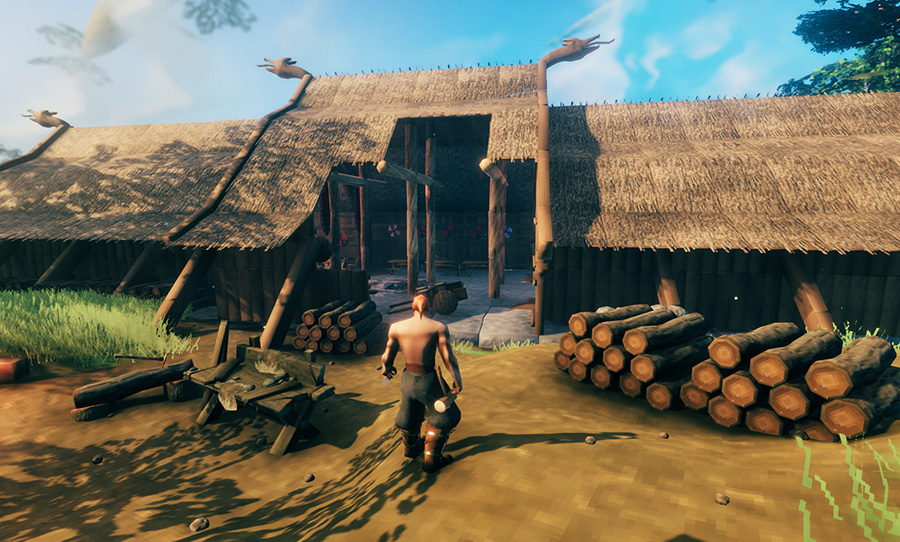
It’s no surprise that in a survival game you need to gather supplies. As soon as you’re dropped onto the world of Valheim you are going to need to scour the surrounding area for wood and stone. Stone is an important component primarily used for tool creation in the early stages of the game, and wood is the primary component for base building.
Unlike Minecraft, you will be unable to craft a pickaxe until you defeat the first boss Eikthyr. So the only way to gather stone is by searching the ground for small rocks. Whilst doing that, keep your eyes peeled for fallen branches which can be picked up for wood, as well as smaller trees which can be punched for wood.
If you’ve happened to spawn in a desolate area, you can exit the world and transfer your character to a new one to save some hassle.
Step 2: crafting in Valheim – the basics
Once you have collected 24 wood and six stones, you can craft your first batch of tools.
Firstly you’ll want to craft a stone axe. This will greatly enhance your wood gathering capabilities, plus it’s a handy early tool for bashing in the skulls of the forsaken. Be careful when cutting down trees, though. If they fall on top of you, they will kill you.
Secondly, craft a club. Although it hosts slightly worse combat stats than the stone axe, it will help preserve your other tools. Just like Minecraft, there is a wear-and-tear mechanic in the game. Eventually, your items will break, and it’s far cheaper to create a new club than an axe.
Thirdly, craft a wood hammer. This acts very similarly to the wooden hammer in Rust. This tool is unable to be used in combat or for mining supplies, instead, it is primarily used as a base-building tool and is needed to craft the most important early game item: the workbench.
The workbench is a combination of the tool cupboard and workbench from Rust. It allows players to access more advanced crafting options, as well as allowing building privileges within a certain radius of its placement. Workbenches can also be used to repair your broken items for free.
To access the advanced crafting menu, the workbench will need to be placed under shelter. A cost-effective way of doing this is to place the workbench down then surround it with four walls; two at the back and two at the sides, then place two 45-degree roof panels on top. Voila, you have a mini crafting station.
Another option is to use the abandoned buildings scattered through Valheim’s living world. To turn them into shelter, all you need to do is whip out your hammer and place new walls where time had deteriorated them.
Not only can Valheim’s abandoned buildings be repaired to create shelters, but they can be destroyed for wood so you can create something brand new. A quick and easy way to do this is to place a workbench within a cluster of abandoned houses, then whip out your hammer and press the middle mouse button. This immediately deconstructs part of the structure, giving you the components used to create it.
The next step? Gather as much wood as possible.
Step 3: extreme home makeover: Valheim edition
By now the sun will be setting, your character will begin freezing, and ancient hordes of enemies will begin to roam around Valheim. Worst of all, that fucking crow keeps giving you a judgemental look.
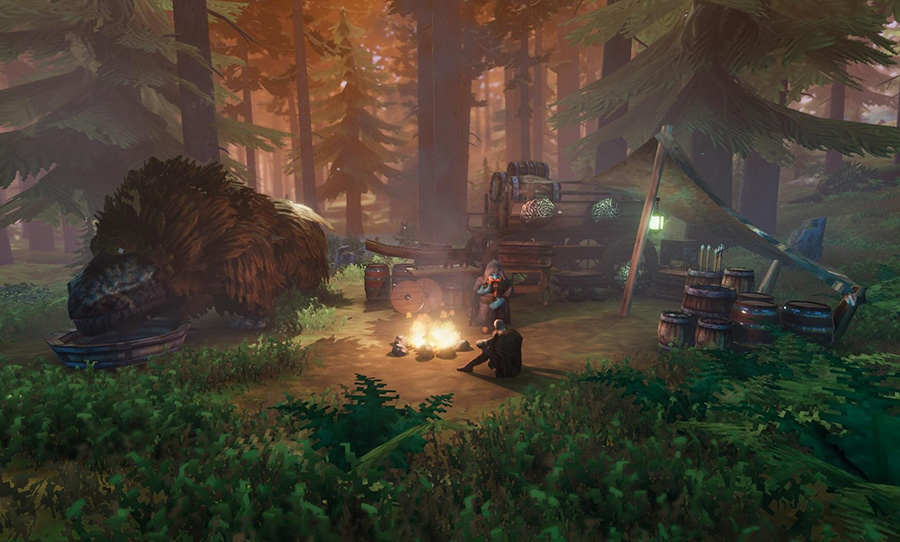
You’re going to want to craft a base, stat. A base is an important feature of Valheim as it gives you an area where you can place a bed, allowing you to rest, regain your stats, and score a respawn point.
Now, as stated earlier, you could easily just repair an already abandoned structure. However, if you’re like me and want to add a bit of creative flair, you’ll want to build a base from scratch.
Base building in Valheim is a reasonably complex system; there is a decay mechanic, a structure and stability mechanic, and strict rules that must be followed to keep Valheim’s elements out of your humble abode. Below I will outline the best steps to ensure a structurally sound home.
Base building 101: get a hoe
The key to any good base in Valheim is a sturdy and flat surface. The hoe tool can be used to flatten the surface of an area to give you a solid foundation to build upon.
Base building 101: pay attention to the colour of the object when placing
Valheim has a structural integrity mechanic that, if not fulfilled, will prevent you from making larger and more elaborate structures. The structural integrity system is based on the number of connections you have to a grounded structure.
An easy way to navigate this is to pay attention to the colour of building parts when placing them. A blue highlight means that the element is grounded and very stable. Green is reasonably stable. Orange means you’re approaching the limit. Red means you will not be able to place any more elements along that pathway. Basically, if it’s red, you can’t add more to it.
Youtuber CohhCarnage has an excellent video outlining the whole system if you want to get a deeper understanding of the mechanic.
Base building 101: decay
Much like real life, wood and water are not friends in Valheim, and any wooden element that is not covered by a thatch roof can decay up to half of its hit points. Fear not; you can repair them using your hammer, and the decay rate is fairly slow.
You’ll be able to tell something is decaying by a subtle change in colour. You can also whip out your hammer and hover your reticle over the piece to check.
Base building 101: use the correct tiles
A small and self-explanatory note – when building your base in Valheim, use the correct tiles. In my first playthrough, I thought there was no difference between the ceiling and floor tiles. Unfortunately, the game’s code does, and you won’t be given the same protection from Valheim’s elements if you make this mistake.
Okay, you’ve got a roof above your head. Time to crack some heads.
Step 4: how to kill (and not be killed)
Valheim is a dangerous place, so knowing how to dodge, duck, dip, dive, and dodge yourself out of harm’s way is important. Valheim’s combat is unforgiving, and you will die a lot. Here are a few tips to help you die slightly less.
First of all, blocking is directional. Meaning that when you hold down the right mouse button to block, you will only block the damage coming from the direction you are facing. You can also only block certain amounts of damage depending on your level and weapon type.
If the attack is too powerful, you can roll your thick nordic booty cheeks out of harm’s way. Do this by holding shift and block at the same time and selecting the direction of the roll with WASD.
You can also parry attacks. Do this by hitting the block button at just the right time before an attack and then releasing it. You’ll know you’ve done it right because you will hear a satisfying ‘ping’ sound and the enemy will stagger back a bit. This requires a bit of practice to get the hang of, so I suggest you try it out on weaker enemies before graduating to the big fellas.
If you are struggling with the combat and still want to progress, then I suggest you craft a shield (ten wood, four resin, four leather scraps) and a crude bow (ten wood, eight leather scraps). Shields make it much easier to block incoming damage, while bows allow you to run around and kite tougher enemies. It’s an easy cheese tactic and not very warrior-like, but it gets the job done.
While in combat, pay attention to your health but also your stamina bar – it’s the yellow thing in the middle of your screen. If it’s depleted and not regenerating fast enough, you won’t be able to fight, block, or run away from your foes. So entering combat rested and well-nourished is paramount to your success.
Step 5: nutrition and dieting – a viking’s guide
Just like you were taught at school, a balanced diet is key to success. Unlike Minecraft, you can’t live off a 64 stack of apples. The game won’t let you eat more than three food items at once, and they all have to be different.
There are a couple of ways to gather food in Valheim. Firstly, food can spawn on the ground in bushes and be picked up by pressing E. The most common type of food in the early game are raspberries, which can be eaten straight away and apply a small buff.
Food can also be hunted. Boar and deer are fairly prevalent in the early stages of the game. Deer are fairly skittish and require you to sneak up on them by crouching with the CTRL key. Just be aware this drains stamina, so you might need to stop and rest during your hunt.
Clubbing boars to death is slightly easier as they don’t run away from a fight. Just be careful battling them at low health – they can pack a punch.
Once you have harvested meat from the animals, you will need to place a cooking station over a campfire to cook it. Meat grants some long-lasting buffs, so its worth the extra hassle. Further on, you can prepare more food types using a cauldron, but let’s not get ahead of ourselves.
Food offers both stamina and health regeneration, but stamina is granted instantly after consumption, whereas health is restored over time. The food and cooking system is quite complicated and would probably require a whole other article to explain the intricacies of it.
Thankfully, Youtuber Schmidtdude has an excellent guide detailing the whole system.
Step 6: don’t get lost
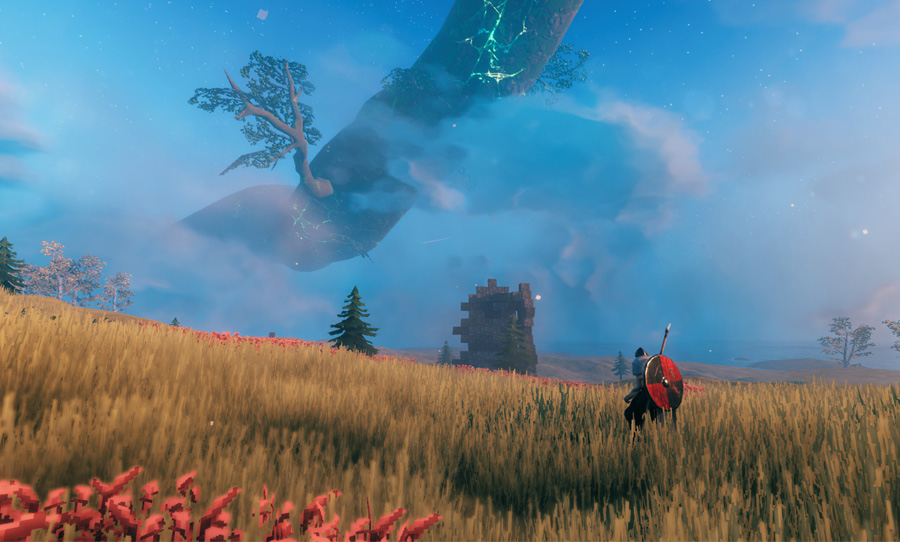
The world of Valheim is huge. There are seven different biomes to explore, all offering unique materials and items to be found. It’s pretty easy to get lost or to forget important areas.
Luckily, the game gives the player a handy map for free. The map will only show you areas you have explored, plus it also allows players to make markings on it so you don’t forget where home is. To do so, open the map by pressing M, then left click on the part of the map you would like to mark. You can then label it using the text box which will appear bottom middle of the screen.
If you want to remove the mark then double right click on it, and it shall disappear.
Step 7: How to summon and kill Eikthyr
In order to kill the first boss, you will need to have two deer trophies. These are uncommon drops from which you can find from deer – obviously.
Once you are well rested, fed, and well equipped, you can mosey on back to where you spawned, equip the deer trophies in your inventory, and present them to the sacrificial stone. This will trigger Eikthyr to spawn.
Eikthyr has three types of attacks; an area-of-effect lighting attack, a forward jab lighting attack, and a forward horned charge. Using pretty basic gear like a wood shield and spear will be enough to defeat him. Just make sure you understand the combat basics as outlined in Step 4 of the guide.
After defeating Eikthyr you will be rewarded with three hard antlers, a component for the first pickaxe in the game, as well as a trophy. Eikthyr’s trophy can be equipped and activated by pressing F, granting the player a five-minute buff which reduces stamina used by 50 percent. There is a 20-minute cooldown between activations.
This guide barely scratches the surface of Valheim – there is so much content packed into this one-gigabyte game.
Find out more about Valheim on Steam.