Valheim’s difficulty takes a sharp rise after the first boss. Here’s everything you need to know to take The Elder down.
This guide is intended for players who have defeated the first Valheim boss, Eikythr. If you haven’t done that, check out this handy guide.
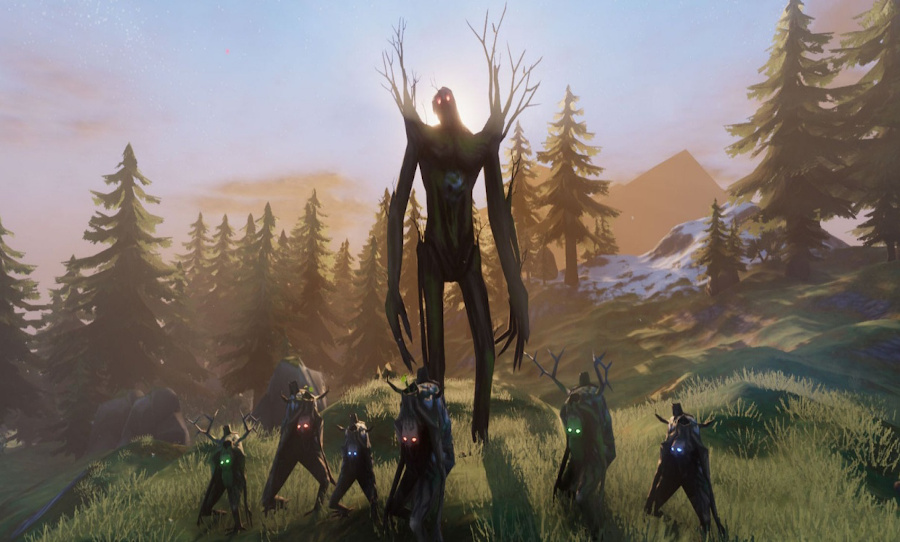
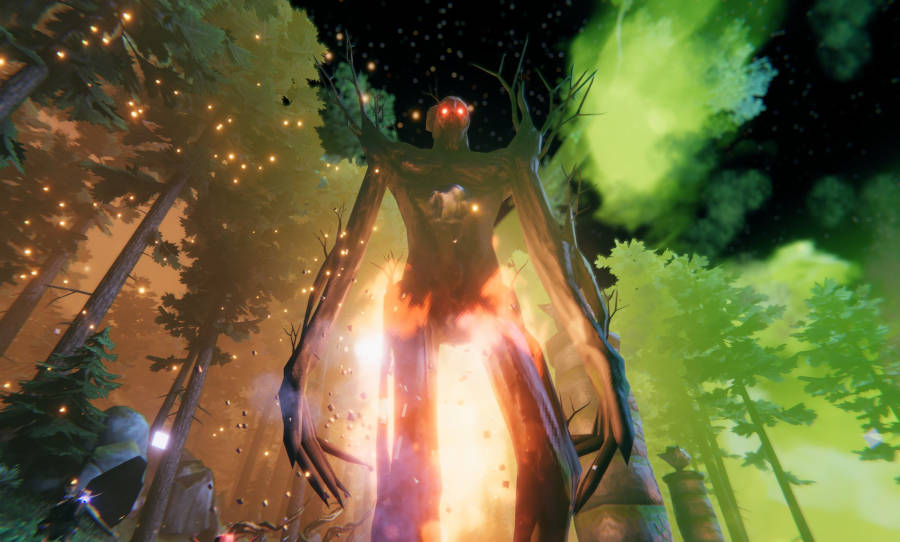
Don’t let Valheim’s first boss fool you. The game’s difficulty soon takes a sharp spike and defeating the second boss is no easy feat. The Elder is a massive, bipedal tree monster whose very aggressive moveset is aimed at punishing slow-moving players. A considerable amount of preparation will need to be taken if you want to defeat The Elder.
This guide aims to give you useful pointers so you can turn the king of the forest into a bundle of sticks.
Valheim 101: mining
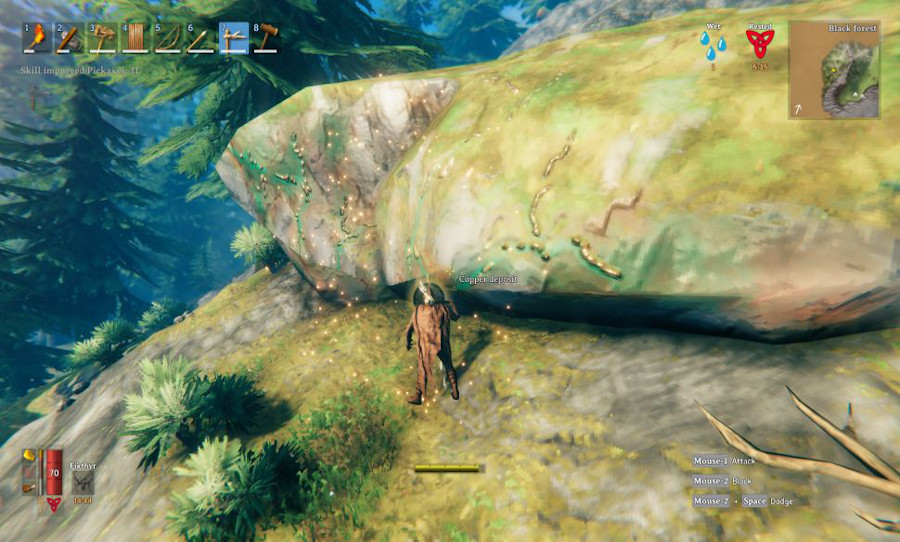
After defeating the Eikthyr, you will be able to start mining all the bountiful ore deposits found in the Black Forest. To craft a pickaxe you will need to take one of the three hard antlers dropped by the Eikthyr to a workbench and combine it with 10 wood. Voila, a new pickaxe.
Now that you’ve crafted the pickaxe you can mine stone, copper, and tin. To find copper and tin deposits you will need to venture into the Black Forest and search near bodies of water for them. Tin deposits are rather small and have a black metallic sheen to them. Copper deposits are large, boulder-like deposits with green and copper hues.
It should be noted that metal ore is extremely heavy. A full 30 stack weighs 300kgs, which is your total carry weight so basically, you will be running back and forth from your base a lot.
Once you’ve gathered some ore, you’ll want to start processing it.
Valheim 101: charcoal kiln and smelter
In order to make use of all the copper and tin ore, you will need to craft a charcoal kiln and smelter. A charcoal kiln is used to create charcoal using wood. Charcoal is imperative to fuel the smelter. To craft one, you will need 20 stone and 5 surtling cores.
A smelter is used to turn the ore into metal bars. This is necessary to upgrade your gear and create new tools. To craft one, you will need 20 stone and 5 surtling cores.
Surtling cores are found in the burial chambers located throughout the Black Forest, but beware, they are guarded by skeletons. Early on these guys pack a serious punch, so be careful.
Valheim 101: how to forge
So you’ve got some fancy metal bars – but no way to use them. The next step is crafting a forge. A forge functions just like your trusty workbench, except it’s used exclusively for metal items.
To craft a forge you will need 10 wood, 4 stone, 4 charcoal and 6 copper bars.
Once you’ve crafted a forge, you can begin to combine your copper and tin bars at a ratio of 2:1 to create bronze. You can use these bronze bars to craft new weapons, armour, and tools which you’ll need to face off against The Elder.
A lot of fancy new bronze gear is required to defeat The Elder. I recommend crafting a bronze pickaxe and axe before you craft new armour and weapons. These tools greatly decrease the amount of time it takes to gather resources.
Valheim 101: cooking
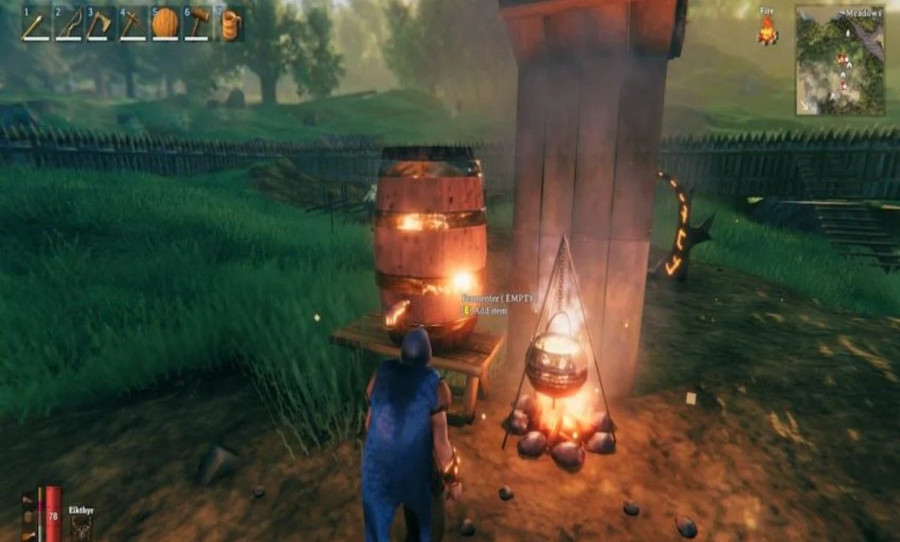
After you’ve made a forge, you’ll be able to craft a cauldron. They cost 10 tin bars and are used to create a variety of complex dishes. These dishes provide you with far more health and stamina regeneration then eating single item dishes.
You’ll want to stock up on a few of these before heading out.
Valheim 101: portals
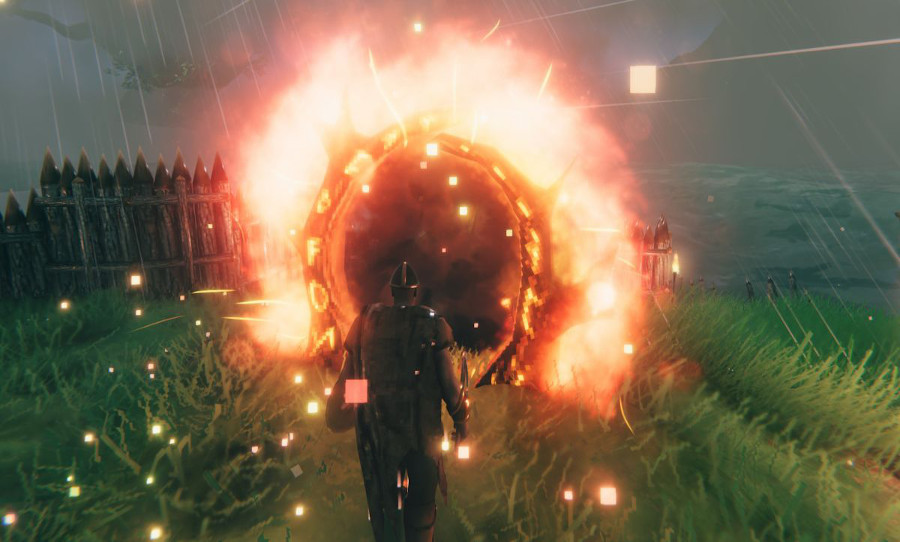
Let’s be real, unless you’re some kind of freakish wunderkind, you will likely die to this boss several times before defeating it. To save time between respawning and fighting, you should definitely craft a couple of portals.
Portals are Valheim’s answer to fast travel across its massive map. They can be freely placed around the map, so place one at your base and one near the boss for peak efficiency. Portals need to be linked to one another to operate. To link them, you just need to give them matching names.
To craft a single portal gateway you will need 10 greydwarf eyes, 20 fine wood, and 2 surtling cores.
Fine wood is dropped from oak trees, meaning you’ll need a bronze axe to cut them down.
Locating and summoning The Elder
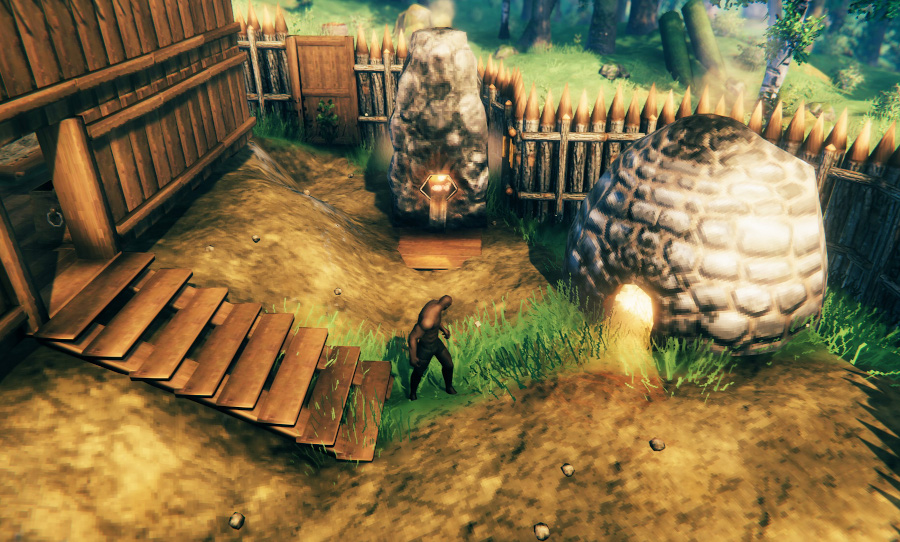
In order to locate The Elder boss, you will need to find one of the runestones that have a glowing symbol on them. These runestones can be located throughout the Black Forest near greydwarf nests, abandoned buildings, and burial chambers. Once you find one, interact with it and it will mark the location of the boss on your map.
In order to summon The Elder you will need to take 3 ancient seeds to the location marked on your map. Ancient seeds are dropped from destroying greydwarf nests or killing greydwarf brutes.
Once you arrive at the summoning location, burn the seeds in the bronze braziers. This will trigger the boss to spawn and your ass to clench.
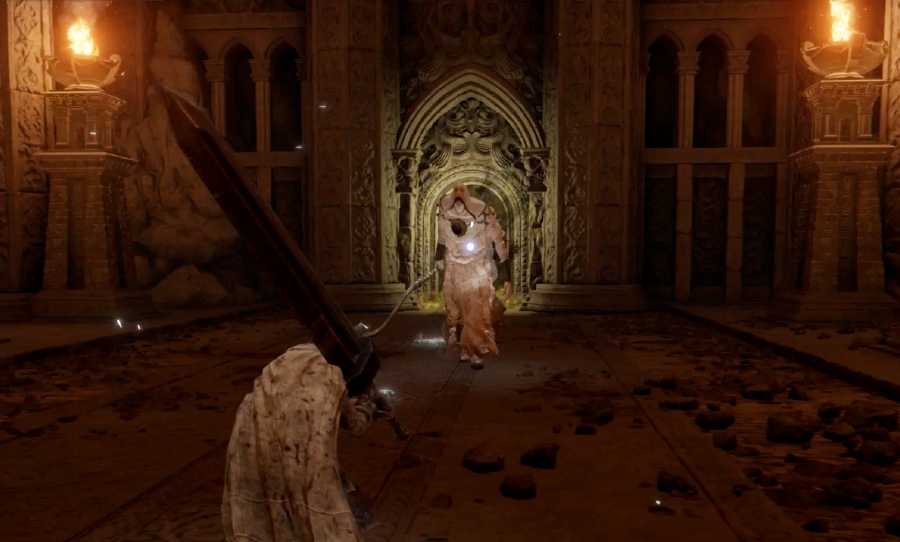
Fighting The Elder
Here we go. All those countless hours of mining, upgrading, and training have led you to this point. The Elder is weak to fire damage, so bring a full stack of fire arrows as well as enough materials to craft several campfires. Place these campfires near the edges of the stone monuments and The Elder will walk over them, keeping the burn tick going for some extra damage.
The Elder has three types of attacks; a close-range stomp that you can block using a shield, a ranged thrust attack where The Elder shoots a sprawling cone of vines at you (this attack can’t go through the stone columns placed around the area so keep one between you and The Elder at all times), and finally, an AOE attack where The Elder can summon vine minions to sprout from the ground and nip at your heels.
When this last attack happens, don’t bother fighting the vine minions, just move to another pillar. They will disappear after a short while.
A good tactic is to keep yourself tucked behind a pillar, constantly jiggling out to shoot arrows. If The Elder summons vines beneath you, quickly switch to a different pillar. This will take a while, so remain patient and conserve your stamina.
Gimme the loot
Once you’ve defeated The Elder, make sure you grab all the loot. Most importantly, the swamp key and The Elder trophy. The swamp key unlocks the sunken crypts in the swamp biome, where you can find and mine iron ore.
You’ll also want to take The Elder trophy back to the sacrificial stone where you first spawned on the map. Once you’ve hung the trophy up, you’ll be able to use The Elder buff which enhances your woodchopping ability.
Stay tuned here for more Valheim guides. If you haven’t played the game yet, stop everything and buy it here.