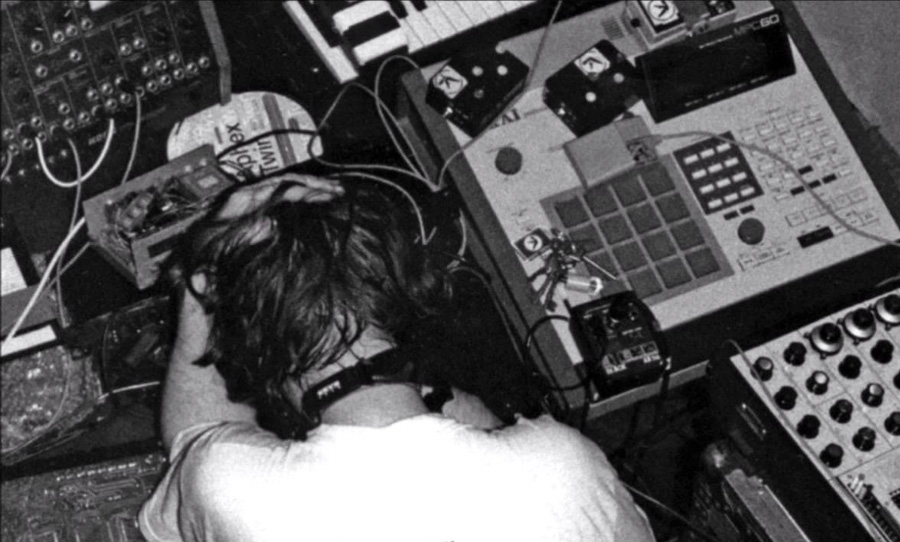
The rapid rise of ‘laptop music‘ has opened up a world of synthesised instruments and construction of these has never been more achievable.
Featuring heavily in electronic music, sampler instruments have snuck their way into chart topping songs and albums for decades.
Building a sampler instrument can be tedious but if you plan ahead and stay organised, you can create a powerful sampler with relative ease.
Instrument Choice
Before building your sampler choose your instrument wisely, do not underestimate the time it takes to record every individual note. If you don’t plan to spend a great deal of time recording, I recommend avoiding stringed instruments like guitar. This is because there are a number of pitches and playing styles that will need to be recorded.
Recording
Recording your audio will be the second most time-consuming step below programming. Before commencing this step, plan out your audio samples visually by drawing a map of roughly every note you plan to record – this will help you keep track of your sounds. For a realistic-sounding result you will need to record; 3-5 versions of the same note as well as 3 velocities of that note (soft, medium, hard).
To understand the sheer quantity of recording required let’s analyse a sampled guitar. A guitar has 24 frets over 6 strings, (144) multiply that by 3 (versions of note) and another 3 (velocities) you end up with 1296 recordings, this is excluding varied playing styles (plucked, muted and strummed) which would then equal around 3888 recordings.
If you’re a first time builder I suggest tackling a much more simple instrument with a small pitch range, this minimises tedious recording time.
Editing
Once completing the daunting task of recording it’s time to edit. Editing again takes a great deal of time and thought because of the amount of attention you need to pay to detail. If you have recorded your samples on one audio track, you need to take the time to separate and finely cut each individual note.
Typically each note is cut off on the first audible frequency from the note however this is where creative freedom comes into play if you’re looking to sway from a conventional instrument sound try experimenting with attack and release time.
It is incredibly important that you keep your audio samples in a neat and accessible folder on your computer/hard drive, these samples are around 1-3 seconds long and in turn, easy to misplace.
Programming
The final step of building your sampler is programming, this includes assigning your samples to your sample editing station. If you’ve organised your audio to be easily accessible this step should not be too tedious or time-consuming. This step can become slightly complex if you’re not 100% familiar with your DAW.
While you’re here check out our piece on creating audio loops for video games.
Mikaela Grob is an intern sound engineer at Enmore Audio. Have a read of another piece she wrote on taking laptops to the stage or her piece on finding comfort in bedroom production.


