
Sometimes the hardest part of any production or creation can be, “where do I start”? Sometimes you sit down and the magic just happens. But sometimes you just need a little idea to help you get going and spark something that can quickly escalate into a fully-fledged piece. Here are some ideas to try that can be useful to help generate an idea or starting point next time you’re stuck staring at that blank session in Ableton Live.
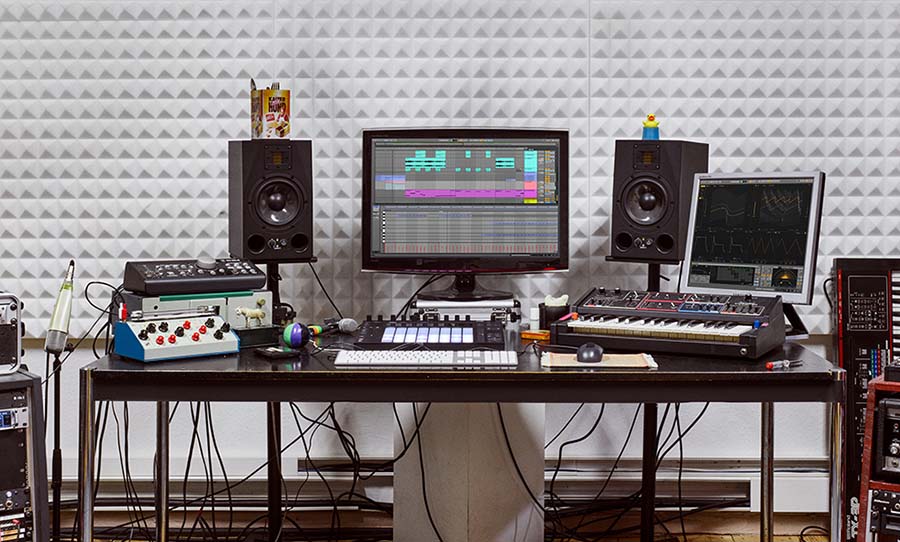
Conquering the blank canvas is one of the hard parts of producing music. Here are four strategies for making an inspired start in Ableton Live.
Randomising MIDI
Randomising anything can be a good way to get some creative ideas going as it can generate a lot of strange ideas and melodies the human brain would never usually think of. While a lot of the ideas randomisation can create can just sound chaotic and atonal, a good way to do find something usable is trial, error and patience. Here’s a way you can put this into practice by randomising some MIDI patterns in Ableton Live:
• Create two new MIDI tracks in Session View. The first track will act as the idea generator, and the second track will act as a print for the MIDI notes. We’ll name the first track Gen and the second track Print to keep everything tidy. Add a one bar clip onto the Gen track, and a piano (or any polyphonic instrument) onto the Print track.
• On the Print track, go to MIDI From and change All Ins to Gen. This means the Print track is now listening to the Gen track. Make sure Monitor is set to Auto or In, and make sure the Print track is armed.
• Go back to the clip you created in the Gen track and draw in a single MIDI note (length, position and note are your choice, but for simplicity’s sake, stick to the beginning of the clip and make your note whatever you want the root note of your composition to be. For this example, we’ll choose C). If you launch the clip now, you should hear your instrument in the Print track playing the note you’ve drawn in.
• Now we’re going to add some MIDI Effects to start randomising ideas. Keep in mind the order these effects in matters and will change the outcome. Go into MIDI Effects and add a Random, and set Chance to 100% and Choices to 12 (it should be set here by default). Your drawn in note should start hitting random notes now, but let’s take it up a notch and start generating some chords.
• Add a Chord, and change Shift 1 to +4st, Shift 2 to +7st, and Shift 3 to +12st. This will give you basic triad chords with an octave on top. Next add a Scale effect. You can you any preset you like here, but for simplicity’s sake again we’ll use a C Minor preset. Make sure Base is set to whatever your root note is, so for us we’ll leave it at C. (Experiment with the more out there scales presets for less orthodox results, and feel free to change the settings in Chord as well to create some really unusually sounds!)
• Now set your clip to launch, and switch over to Arrangement View. When you hit record and play, you’ll notice the single MIDI note you drew in is running through your MIDI Effects, being converted to chords and being recorded onto your Print track as a fully editable MIDI clip. Leave it to record and play to itself while you go make yourself a cup of coffee, and when you come back you’ll have a few minutes worth of random MIDI ideas to listen through. Cut out and combine any parts that sound great and you some chord progressions ready to go!
Now that you’ve seen how to use a single MIDI note to generate basic chord ideas, you can take this a step further with some of these ideas; add more than one MIDI note to the clip to create alternative rhythms, add an Arpeggiator in there to create lead lines instead of chords, play with various Scale or Chord presets. In Ableton Live, the options are quite endless, just make sure to record all your ideas so you don’t lose them. And because you’re recording everything into MIDI, you can change the initial instrument you started with to whatever you like. Get creative!
Creative Audio Effects
Delving in and getting experimental with your stock audio effects is a great way to inspire a bit of creativity. Ableton Live comes stocked with so many great effects, and combining them can provide some great results. If you’re stuck for ideas, try to answer these questions:
• What does a piano sound like when it’s run through an overdrive, then into a reverb, then into a grain delay? How about if it’s an orchestral sample rather than a piano?
• How does a single synth note react when you add some resonators?
• What would an old jazz sample sound like going through a vocoder or corpus? What happens if you then run it through a reverb and add an auto pan or auto filter to give it some movement?
These are just random questions and you can think up plenty of your own, but the idea here is to start thinking about how you can use the plugins you have at your disposal to totally mess up sounds, then see if you can use them in your project in any way.
A distorted vocal could be a great lead part, or it could provide a really beautiful bit of texture to a lush choral part. An old distorted record sample could make something amazing when you add a hip hop beat under it. When you stop thinking logically about what effects should go with what sounds and start thinking “what if” and “what’s the most unorthodox use for this plug-in“, you can get some really unique results that people most likely haven’t heard before. Get creative and don’t just limit this to synths and plug-ins, try throwing audio samples such as foley or field recordings or instrument loops etc through these. You will definitely have something unique on your hands!
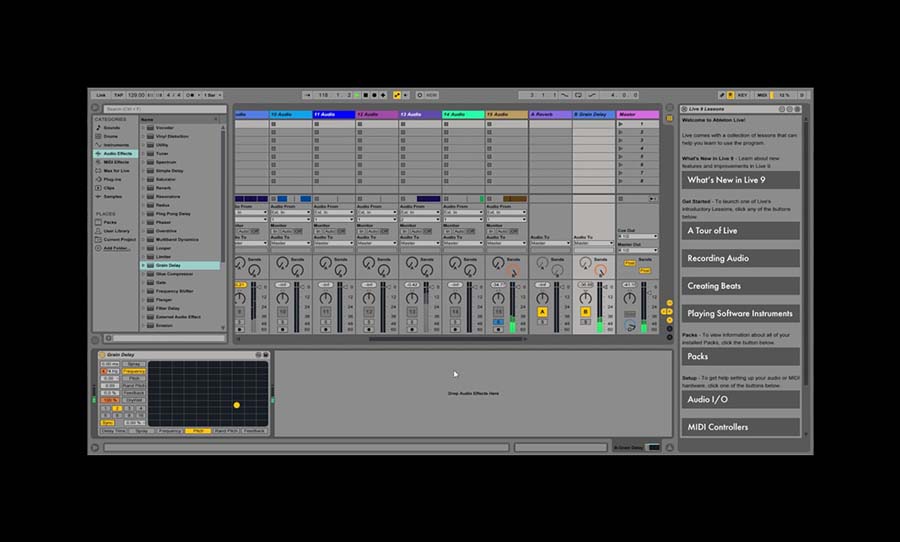
Convert Existing Audio Into MIDI (Then Add MIDI Effects)
Audio samples and sample packs are cheaper and easier to obtain than ever these days thanks to the internet and websites like Splice. You don’t have to look very far to find a pack of audio clips ready to slot into your production, but a lot of them might sound a bit too readily produced for you or might not quite have the sound or the vibe you’re looking for.
A great way to use audio samples a bit differently is the Convert to Harmony feature on Ableton Live. This was introduced back in Live 9 and essentially what it does is take the melodic ideas of an audio track and convert that into MIDI (as best it can). The results aren’t always perfectly accurate, but they can definitely be useful and used as a good basis for new ideas. There are two ways to use it:
• Drag and drop an audio clip onto a MIDI track. Ableton Live will ask you “What type of audio material are you converting?” Select Harmony. (Melody and Drums can also be useful options, but for the sake of this article we’re just focusing on Harmony).
• Drag and drop an audio clip onto an audio track. Ctrl + click or right click on the audio file, then select Convert Harmony to New MIDI Track. This will create a new MIDI track with your converted clip, and also leave the original audio.
Now that you have your converted your audio track to a MIDI track, does it sound good or close to the original? Are there some fragments that Ableton Live picked up that could form useful parts? Get in there and start moving parts around. Restructure chords. Cut out the parts you like and past them in a new clip, then fill in the blanks around them with your own MIDI info. Try adding a moving all the notes up or down a semitone, then add a Scale on to push everything into key.
Try picking an existing song you like and applying this to a melodic part that you like the sound of. It might not get it close enough that it sounds like the original, but it could get it close enough that there’s still a great melodic idea there. Just make sure if you’re doing this you move the notes around enough that it doesn’t sound recognisable as the original track, as sampling and plagiarism is a whole different debate!

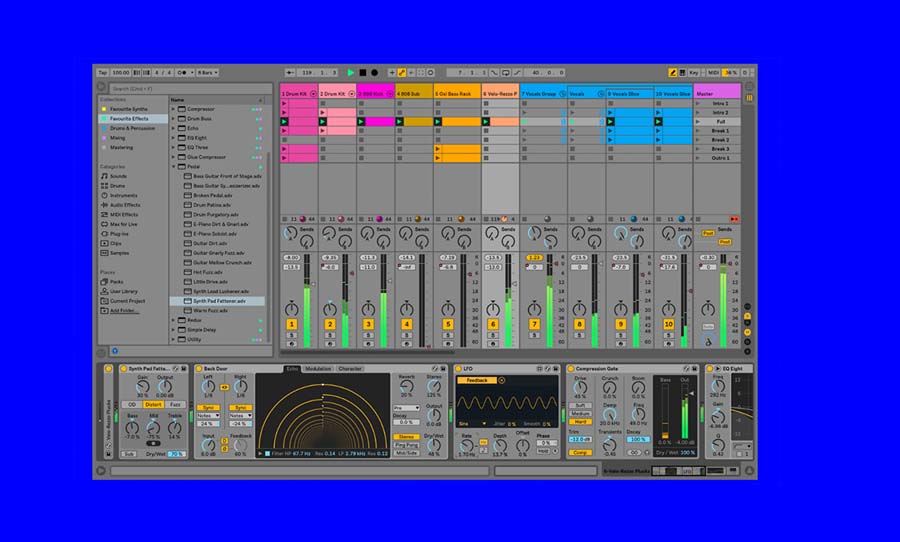
Editing Synth Presets
Preset is not a dirty word. Every synth these days comes loaded with great presets just waiting to be messed with to spark new ideas. While there’s something fun and rewarding about creating your own unique sounds from scratch, there’s also something to be said about taking an existing preset or idea and tweaking it to make it your own.
Spend some time to go through your favourite synth plug-in and listen to all of the presets. When you find one you like, what do you like about it? What characteristics catch your attention? Try to work out what part of the synth is creating what you like. Is there an LFO going? Maybe it’s the way the filter is set? Try work out what it is that’s creating the sound you like then change everything else about the preset. If it’s the oscillator that’s catching your attention, change the filter. If it’s the way the filter’s working that you like, change the waveform in the oscillator. Get in and mess around, you may just find something totally unique that you like.
Another thing to try to get a bit creative is to make atonal synth sounds become tonal. Try finding a random preset that doesn’t really play harmonic notes (such as a snare sound or something), and run it through auto-tune or similar tuning software. Often these programs can pick up melodic fragments and then push the sound into tune in a way the human ear normally wouldn’t pick up. This can create some really unique melodic ideas. Another way to implement this idea is to record your sound out into an audio file then use your ear (or a graphic EQ) to find what pitch is the strongest in that sample. You can then load this into a sampler and play away. Resampling audio like this can lead to some very cool results so don’t be afraid to experiment!
Bonus Tips: Brian Eno’s Oblique Strategy Cards
Back in 1975, Brian Eno and Peter Schmidt created a set of cards known as “oblique strategies”. Essentially what they are is cards with a simple word or phrase written on them, designed to inspire creativity. Eno used to use them with the musicians he was working with when they were stuck or when he wanted to inspire creative results. They can say anything from “don’t break the silence” to “ghost echoes” to “be dirty”.
Thankfully, like everything in 2018, there are plenty of apps and online resources for the cards as opposed to the physical copies. They can easily apply to electronic music production within a DAW too; here are some examples of random cards and how you could use them in your productions;
• “Listen to the quiet voice” – try and write a song around a subtle instrument with low velocity. Trying to use a background instrument as the main focal point of a track could be very interesting!
• “Is there something missing?” – have a listen over what you have very carefully and think what else could be added.
• “Look closely at the most embarrassing details and amplify them” – this could be taken many ways. You could bring out the sloppy timing in your playing to create a loosely flowing beat. You could think of the strangest or most awkward part of the track and amplify it.
This approach can be great to get you out of a rut. Draw a card and try work with whatever it says. If it doesn’t work, pick another card, try again, and repeat. Take the cards with a liberal approach and think how they can apply to electronic music production, and you’ll have so many ideas for tracks that all you’ll need is the time to pursue them all!