PART 1: Not just the top knob on the channel strip, your selection of preamp is imperative to producing a recording with integrity and tonal individuality.
“What do all those knobs do?” is the timeless question, sometimes asked with tongue in cheek, other times with genuine intrigue. When first approaching the mixing console – overwhelmingly complex as some may appear – there is a definitive logic to how it operates.
The desk is divided into singular vertical units: channel strips. Signals go through them, then they are sent to a master fader. Understanding the strip is key to understanding a recording or mixing signal path.
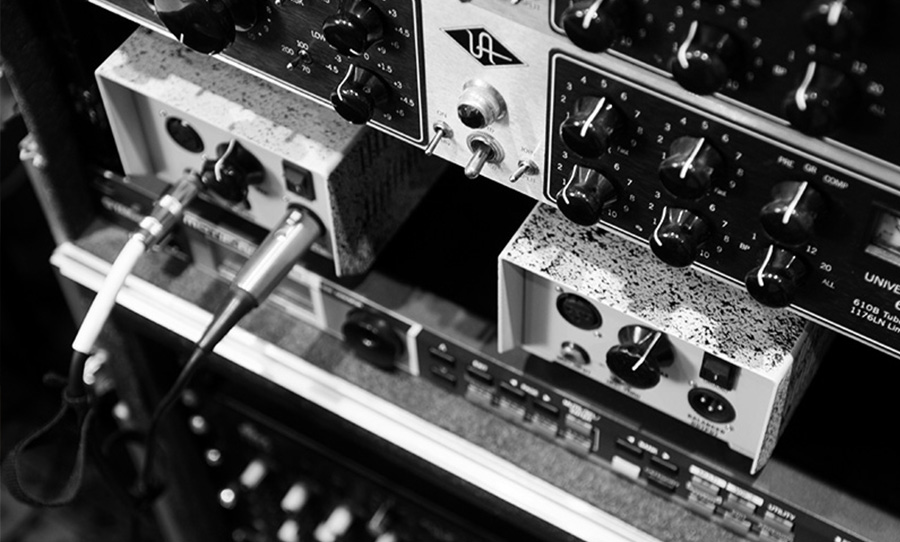
Within each strip are components that amplify the signal, colour it to taste, send it to alternative paths and locations within a stereo field and are finally mixed in with other signals on other channel strips. These processes can happen in the analog world on real mixing consoles, or much more commonplace these days, on a computer screen.
Whichever the format, the basic principle – the sending of sound from one place to the next, through a complex matrix of inputs and outputs, is the same. In this piece, we’ll take a look at the first link in the chain: the preamp.
The Basics
The preamp’s role at the beginning of the signal path (with the exception of the microphone) is unglamorous, yet essential: microphones typically put out a very low amount of voltage and therefore needs to be amplified to work with other sound sculpting components such as equalisation and compression. The main control of the preamp is the input knob, which controls the amount of gain that is added to the signal.
Other common additions to the preamp section of a console, plugin, or standalone module include pads – for attenuating particularly strong signals; a phantom power switch – sending the 48 volts needed to power condenser microphones; a phase reversal switch – flipping the phase of a signal 180 degrees (useful in checking phase relationships when recording more than one source) and a high pass filter; for rolling off problematic low-frequency information.
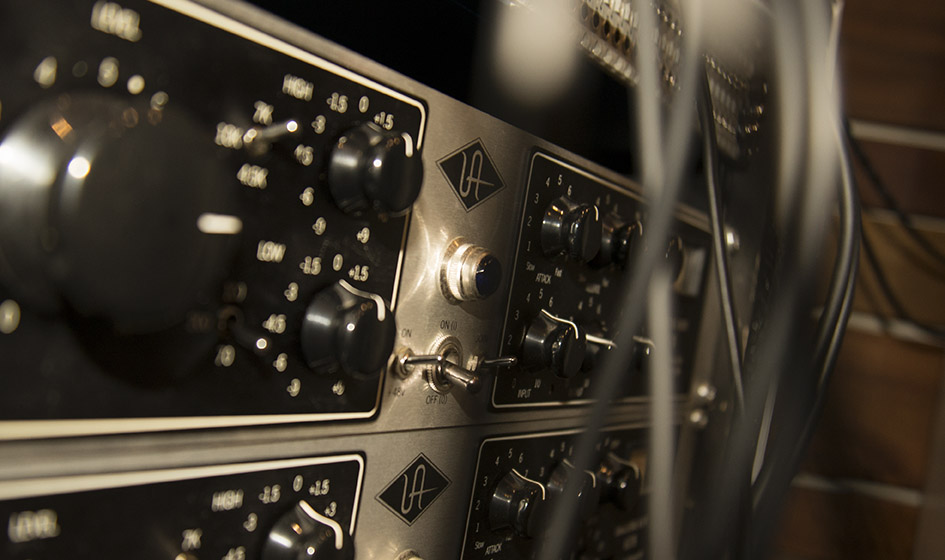
Preamp Flavours
The aforementioned functionality doesn’t tell the whole story of these oft-mythologised pieces of gear. Talk to any engineer and they’re bound to have their favourites. Yes, their presence in the signal path from microphone to our ears is obligatory, yet they add so much more than mere volts. Depending on their design and how it’s being used, the humble preamp can impart a distinct personality to a sound.
In early designs, preamps that were powered by vacuum tubes were predominant. The fact they are still highly desirable says a lot about the way that tubes convey sound. They produce subtle harmonics and distort in a way that gentle and natural and as such, are prized for their musicality (an example of which, right here). On the (ever so slight) downside, preamps with valves are generally expensive, require a deal of maintenance and are sometimes prone to unwanted noise.
Solid state preamps became popular for their consistency and lifespan, yet don’t offer up the warmth of the tube-driven models. Solid state preamps became all but essential for large format consoles however, for reasons of expense and practicality.
Yet within these boundaries of efficacy, designs improved – more and more multi-tracking capability was needed as the recording industry grew and consoles from the likes of Rupert Neve and Solid State Logic achieved near mythical status; discrete input and output stages such as those that feature on the Phoenix DRS-8 give the user a varied palette of tonal colours to choose from. All manufactured on the back of preamps that relied on transistors rather than tubes.
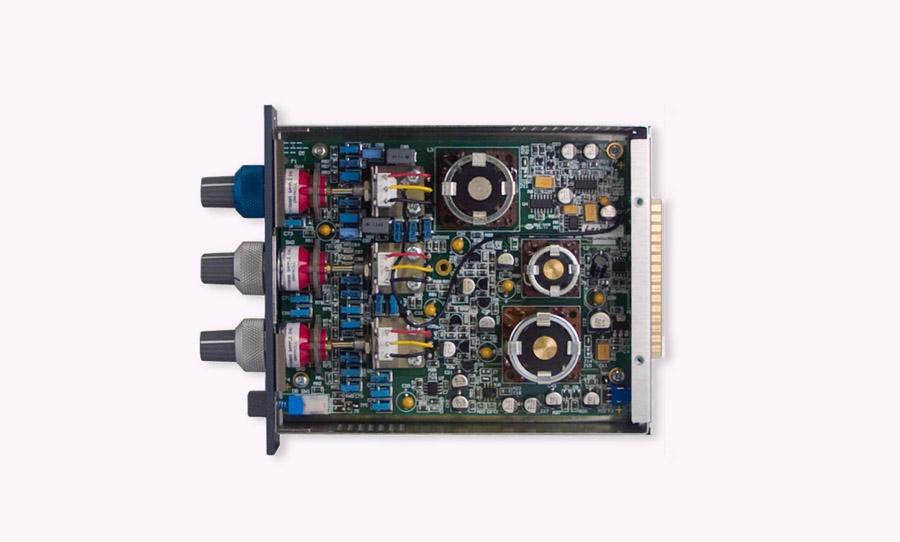
The central hub of the recording studio nowadays is the digital audio workstation, meaning that a converter is needed to transform the signal from the analog to digital realms. Conveniently, there are many audio interfaces that incorporate preamps into the unit – no more expensive standalone preamps required! Well, it’s not a completely positive development. Internal preamps on interfaces are famously dull and do little to imbue the signal with character of any description.
The folks at Universal Audio might be onto something however, with their Unison technology. Having created their own incarnations of legendary analog preamps (from the likes of Neve, API, SSL, Manley and of course, UA themselves), Unison matches the impedance behaviour and gain staging of these classic models. If you believe this video, the results are almost identical.
Humble? Utilitarian? Yes, the preamp is fit to wear these badges. But like any other chain, the signal chain is only as strong as its weakest link. The assiduous selection of a preamp is imperative to producing a recording with integrity and tonal individuality. Not just the top knob on the channel strip, the preamp needs to be considered as much for its musical contribution as it does for adding volume.
Part 2: Here is part two of our series of articles across the channel strip; this time we take a look at the ever-critical EQ section.
Although preamps can leave an indelible impression on the sound of a signal, that’s not its express purpose. Traditionally, as we descend the ladder slippery slope of the channel strip, the next stop is the equaliser section, or EQ for short.
The EQ’s job is to definitively colour the sound, and therefore is an incredibly powerful tool for sculpting signal. From an aesthetic standpoint, EQ can be subtle to the point where it’s not heard, only felt, or it can be liberally applied to satisfy the urge for extreme tone.
In a technical sense, EQ can be used to salvage inaudible recordings, or to tame the resonant idiosyncrasies of a theatre. In this article, we’ll ask why EQ is so important, have a broad look at the different parameters of EQ and how it has crossed over into the digital domain.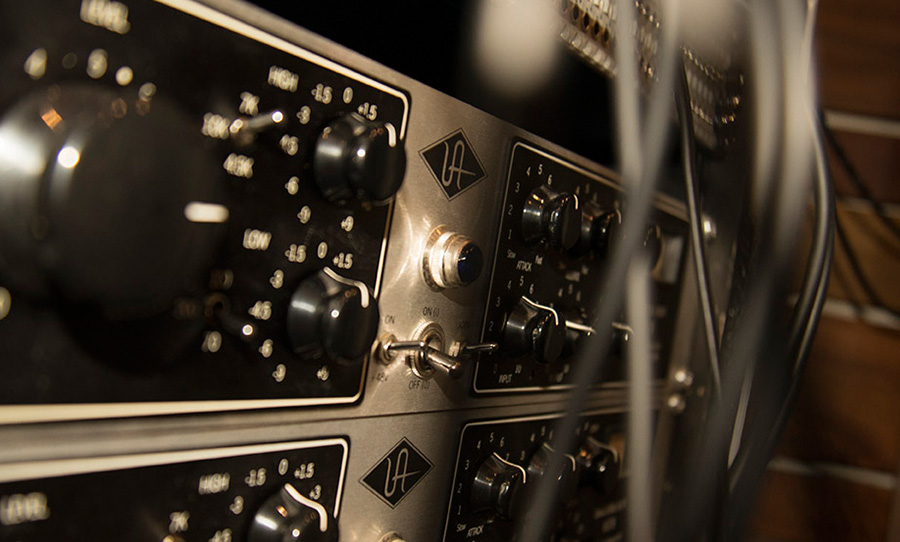
EQ and the Frequency Spectrum
Even to the uninitiated, judging sound in subjective terms is easy to understand. For example, if someone describes as sound as “boomy” or “harsh”, it shouldn’t be too hard to develop a mental picture of that sound.
Even if you can think of sound generic terms this broad, you have some understanding of the frequency spectrum. The spectrum of human hearing is measured in hertz (hz), the lowest being 20 hz, the highest 20,000 hz. So if a sound is boomy, woofy or bassy, frequencies at the lower end of spectrum are predominant; if it is harsh, tinny or metallic, the higher frequencies are more prominent.
If a sound is too boomy for example, or not boomy enough, you have to reach for the EQ. And as you can imagine, every sound has a character that can be described in these terms – EQing a sound therefore, is a massive part of a sound engineer’s job.
EQ Parameters
Highs
On physical channel strips the EQ section starts with the control of the high end frequencies at the top, the mid range frequencies below that, and lastly, the bottom end frequencies. With each of these bands of frequencies, the user can either cut or boost them by decibel increments.
The highest EQ setting is usually a shelf – a fixed point at which all frequencies above can be cut or boosted by the same amount. This is usually set very high, at frequencies that are not necessarily discernible in musical instruments (except for cymbals, hi hats and other piercing metallic instruments) and is generally used to add a subtle sense of airiness, or tame the overly harsh top end of a sound.
Mids
The effect of mid frequency EQ is much more apparent because the majority of audible sound happens in this band of the spectrum. Depending on the depth of the EQ section, this band can be split into high-mid (affecting sounds like the human voice, upper registers of the piano and guitar, woodwinds, high strings and much more) and low-mid (snare drum and toms, piano, guitar and bass, lower strings, brass etc) divisions.
Often the mid EQ is “sweepable”, meaning that the user can sweep through the frequencies of that band to cut and boost with more accuracy. Less common on analog mixing consoles is the parametric EQ: this means that along with the ability to dial in a desired frequency, the bandwidth or “Q” setting can be made more narrow or wide. This is especially useful for surgically cutting particular problem frequencies without losing a wide range of neighbouring sound from that part of the spectrum.
Lows
Bottom end EQ can sometimes be in the form of a shelf: just like the high frequency shelf, except the cutting or boosting affects the sound below a fixed point. Arguably though, more sensitive and precise EQ of the low end frequencies is important because there is a lot important musical information residing in this band (kick drums and bass guitars to name two), potentially muddying the waters: accurate EQ-ing in this band is vital in maintaining overall clarity.
In the Box
On a real life mixing desk, there’s little opportunity to visualise the shapes into which an EQ’d sound is being sculpted: you just have to use your ears (which is not a bad thing!). Surely one of the benefits of using an EQ plugin in a DAW project is the way that it presents the frequency spectrum in an easy to navigate interface, where cutting and boosting can be a simple as clicking and dragging a horizontal line.
The potential dangers of such an approach links back to using your ears: we can become accustomed to the way a particular EQ curve looks rather than sounds, and EQ decisions can be compromised by the eye overruling the ear.
There is however, no shortage of options when it comes to software emulations of classic EQ sections from analog mixing consoles, complete with the original visual interface. Plugin companies like Waves and Universal Audio create a multitude of rigorously faithful EQ tributes to the likes of SSL, Neve and API – who built some the world’s most celebrated consoles.
Sitting toward the top of the console, the EQ is often the first part of the signal chain that reshapes the sound coming from the microphone. Thus it’s important to recognise its power to enhance or detrimentally affect a sound. Whether it be on a mixing desk, or in plugin form, familiarity with the nuances of a particular EQ can help an engineer commit the best possible sound to tape, or carve out unique sonic characters in the mix.
Part 3: Here is part three of our series of articles across the channel strip; this time we take a look at the auxiliary section.
Until now, we’ve followed the signal path from the microphone preamp, which boosts the level of the signal to make it useable further down the line. Then we went on to the EQ section, so the frequency spectrum could be shaped to taste. The path so far is linear and pretty simple to follow. Enter the auxiliaries – an extra path for routing signal.
So if things are sounding good already with a straightforward signal path, why complicate things with an entirely different one? Utilised judiciously, auxiliaries are incredibly powerful sonic tools and in some cases, downright essential. As we’ll discover, the reasons why auxiliary sends are employed have practical and creative benefits for recording, mixing and live performance.
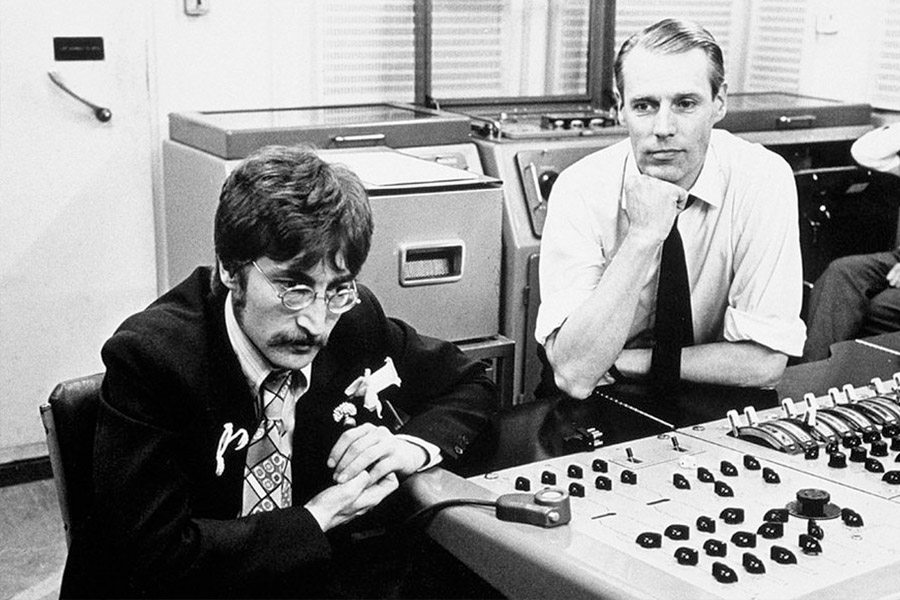
How It Works
On a console channel strip, the auxiliary sends signal from any given channel to an auxiliary master, which controls a physical output on the back of the desk. The auxiliary section on a channel strip is usually comprised of a series of numbered knobs.
As an example, let’s assume that there are four auxiliary knobs on each channel strip. Turn the knob for auxiliary 1, and you are sending a double of the signal from that channel strip to the auxiliary 1 master. Turn the knob for auxiliary 2 and the signal will go the auxiliary 2 master, and so on.
In and of themselves, auxiliaries do not have any tone shaping characteristics. So, again, why do it? Well, it gets more interesting after the signal gets sent from the auxiliary master, out of the console, to a different device.
How Auxiliaries Work With Effects
Using auxiliaries to access effects is perhaps the most creative way to use this alternative signal path. Imagine you want to add reverb to a snare drum.
Firstly, you’d need to connect a cable from an auxiliary master output on the console, (for example auxiliary master 1) to the input of the reverb unit. When you crank up the auxiliary 1 knob on the snare channel (assuming the auxiliary master is turned up to a sensible level) the signal will be feeding the reverb unit.
To hear the reverb, you then need to use another cable to connect the output of the reverb unit to a spare channel on the console. Push the fader up on that channel and a juicy, reverberant snare should appear.
But if you want to use reverb as an effect, why can’t it just be on every channel, like EQ, rather than accessing it via the comparatively convoluted auxiliary signal path? Aside from the sheer impossibility of adding a reverb unit to every channel of a multichannel console (expense, size, heat generation etc), it’s not the best way to employ an ambient effect such as reverb.
The real beauty of auxiliary sends are that they can be blended with the raw tone. Having a mostly dry snare, with a little wetness from the reverb might be appropriate, or a huge snare, swimming in reverb, that wouldn’t be out of place in the 80s might be a better choice.
Having the option to blend this tone into the mix on a separate fader with dynamism and artistic flair is part of the fun of mixing. The auxiliary makes this possible.
Also, imagine you want the toms, or the overheards, or even the vocals to kissed by a little bit of this same reverb. All that is required is to dial in the corresponding auxiliary on those channels for them to be affected by the same sound. This too would be impossible without the help of the auxiliary path.
In fact, it can be helpful to think of the auxiliary path as a way to create an entirely different mix from the main one. In this way, auxiliary sends can be used to serve more practical ends.
A Separate Mix For Performers
When playing live on stage, or recording in a studio, it’s of great benefit to the performers to hear their own mix. They may need to hear specific sounds to hit their cues or click tracks to keep in time. In any case, the ideal control room mix, or front of house mix is apt to be different from mix for the musicians.
Auxiliaries can facilitate this need. Yet to make full use of this function, the difference between pre-fade and post-fade auxiliary paths needs to be understood.
By default, auxiliaries function in post-fade mode – this means that the auxiliary level will be affected by the level of the output fader. If the fader is all the way down, or if the channel is muted, the signal won’t be sent to the auxiliary master, no matter how much you’ve cranked the knob.
If the pre-fade button is engaged, the auxiliary knob acts independently from the fader – meaning a different mix of levels can be achieved even if the fader is down or the channel is muted.
So if you’re in a recording session with a vocalist, and they want to hear a lot of the bass drum to get the energy right for their vocal take, it need not affect the mix in the control room. This gives the engineer maximum flexibility in honing the mix to taste while giving the vocalist the ideal ingredients for a great performance.
Understanding auxiliaries can perhaps commandeer a little more brain power than other aspects of the audio signal. The extra layers of inputs and outputs and mixing options can be overwhelming on first inspection. Yet the principle of the auxiliary path and its sheer usefulness and sound-sculpting power is worthy of understanding, and surely an essential stepping-stone on the pathway to engineering expertise.
Part 4
Part 4: In our final part of the channel strip series, we explore the all-important panning controls and faders: the keys tools to create space and dynamics in a mix.
If the preamp and EQ sections are dedicated to how the raw tone is polished, the faders and pan pots are the tools we rely on to control the relative volume of a sound source and its location within the stereo field.
It’s no accident that these controls fall to the bottom of the channel strip, within reach; they are the objects that are prodded, slid, tweaked and swept most often by our fingers.

Like the auxiliary section, the pan pots and fader don’t sculpt the tone as such – they are simply ways to route the sound. That’s not to say that they can’t be clever – there is scarcely another facet in the art of mixing that requires the nuance and skill called upon to operate a fader. In this final instalment of our exploration of the channel strip, we’ll look at how panning plays a significant role in creating space in a mix, how faders can be manipulated, subgroups and the all important master fader.
Panorama of Sound
Unless you fundamentally adhere to 1950s recording techniques, or haven’t updated your recorded collection since the middle of the last century, you’re bound to have experienced music in stereo – in headphones, hifi systems, car sound systems, televisions, movie theatres and more. Having a left and right channel working independently means that different sounds can be assigned throughout the field, opening up space within a mix of sounds for exciting elements to shine through.
As the tracks in a session stack up, the options for panning increase and the possibilities become rather mind-boggling. And while there are no unbreakable rules in this field, there are some well-established techniques for sensible panning that translates well in a variety of environments.
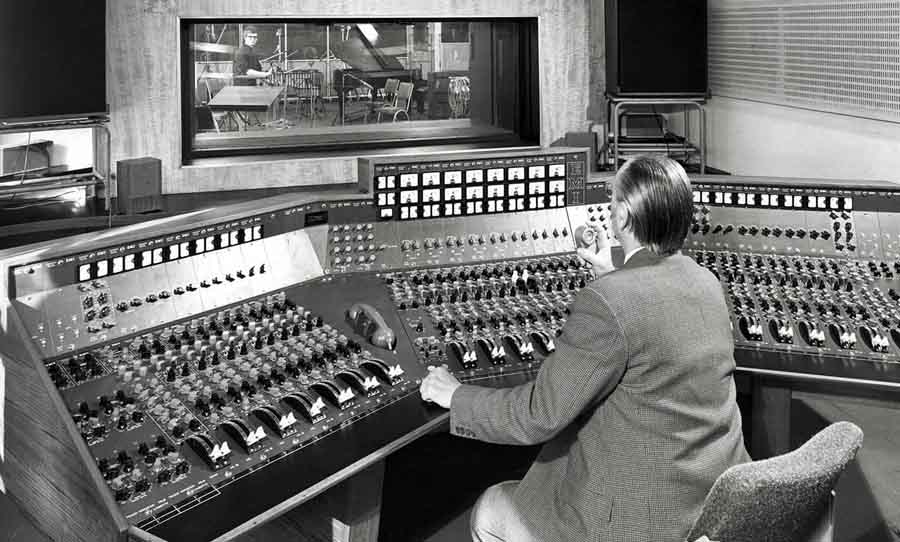
Finding Space
In rock and pop mixes it’s safe to assume that the more important the sound is, the more likely it is to find itself in the middle of the stereo field. Imagine how disconcerting it would be to find a lead vocal panned to the right of a mix. It would have less presence and would definitely lose its place atop the hierarchy of sounds working together to capture your attention.
Another accepted rule-of-thumb is to place the bassier, grounding elements in a mix in the middle too. The theory being that the kick drum and the bass guitar for example create a solid foundation on which the mix can be built and thus are apt to perceived right in the middle.
For other more ethereal mix elements, panning preferences tend to be more subjective. Higher pitched and smaller sounds take on intriguing new characters when placed judiciously throughout the stereo spectrum. In DAWs, automating panning is a breeze, so creating movement of differing extremes across the stereo field can build a sense of dynamism in a mix that is thick with sonic layers.
In cinema world, the sonic elements are designed to be even more immersive. With 5.1 surround sound, not only are there the stereo left and right options, there is also middle, back left and right and a subwoofer. Therefore, many more panning options. The Dolby Atmos protocol even incorporates height controls in panning, creating a sonic landscape that is all encompassing for cinematic, gaming and musical experience.
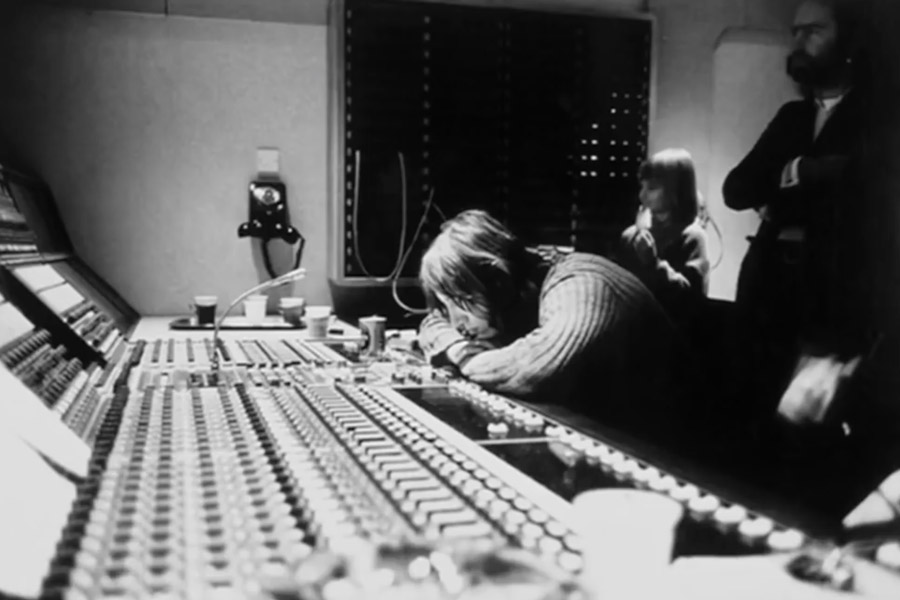
Hands-On Mixing With Faders
Faders control the output a channel strip and thus have to be pushed up for a sound to be heard. The fader on the channel usually feeds the master fader by default (this assignment can be changed, more on that later) and the master fader controls the output to the loudspeakers.
Assuming the master fader is at a reasonable level, the mix of sounds you hear is controlled by the relative levels of the channel strip faders (push up the fader on the guitar channel if you want more of that, pull down the fader keyboard if you want less of that). The master fader will then control the level of the overall mix of sounds.
Grouping Channels
Creating a subgroup of channels is a commonsense approach to creating logical families of sound within a larger mix. On a console, it’s not uncommon to have many channels dedicated to the drum kit for example. So it makes sense to have a subgroup fader that can give an engineer access to the volume of the whole drum kit, instead of having to control ten or more faders at the same time.
Consoles often have numbered assignment buttons that correspond to subgroup faders. If one of the buttons is selected, say number one in this case, it will send the signal to the subgroup one rather than the master fader. This subgroup fader then feeds the master fader.
Subgroups come into their own when dealing with larger mixes. In DAW projects, it’s not uncommon to have upwards of one hundred individual tracks in a commercial pop mix. Grouping tracks into sonically appropriate families (drums, guitars, vocals and synths to name a few examples) becomes essential to create coherence in a complex soundscape.
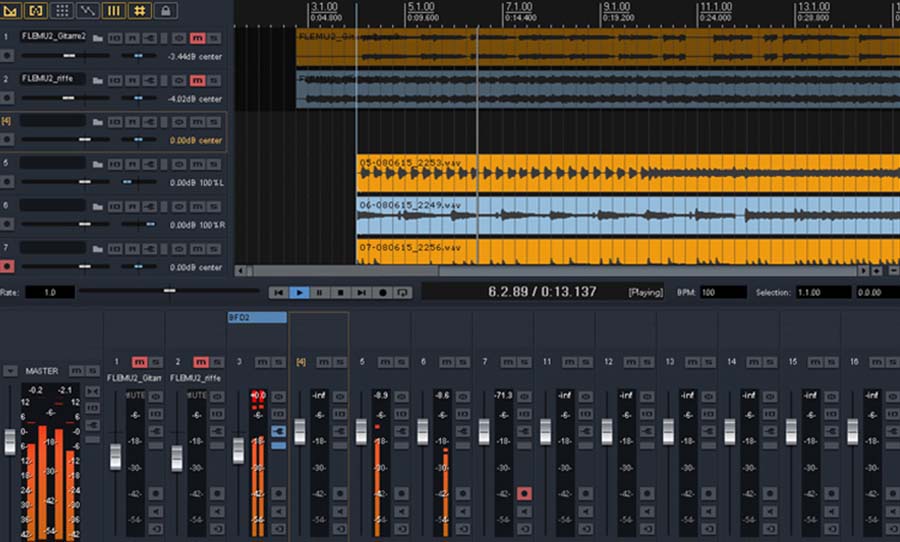
Stereo Bus Effects
Subgroup faders are also typically stereo. This makes sense because the panning of the individual channels that feed the subgroup maintain their place in the stereo field, just as they would if they were being sent directly to the master fader. Sending channels to stereo groups also offers up the advantage of being able to apply an umbrella effect to the group. This is a favourite technique among mixers – every engineer would be able to list their “go to” stereo bus compressor for example.
“Stereo bus” is the collective term for stereo subgroup channels and master faders, but are usually treated differently in terms of effects. For a subgroup, the effects chain is likely to have a more drastic implications for its tonal character. For example, if a “slamming” sound is wanted for the drum kit, a aggressively set compressor, feeding a saturation plugin might do the trick. If you apply that effect to the master fader, you’ll be slamming the entire mix, which of course is much less desirable.
Master fader, or mix bus effects tend toward subtlety – gentle compression, for “gluing” a mix, or peak limiting for catching nasty transients before they cause distortion.
For such an unassuming presence, pan pots and faders (both physical and virtual) present the mixer with a vast array of options. They control the perceived space and dynamic in a mix and have the power to elicit surprising and compelling emotional response.
The way they are controlled, with a twist from left to right, a push up and pull down are simple and profound. More than any other component of the console, they provide the mix engineer a fluid, dynamic control of a complex mix of sonic elements.

